Hello Guest it is March 28, 2024, 08:57:12 AM

Author Topic: Cylinder Heads  (Read 183335 times)

0 Members and 1 Guest are viewing this topic.

Re: Cylinder Heads
« Reply #200 on: April 08, 2011, 04:29:40 PM »
Sandcrab... how are you "catching" or viewing the heavy side with that pendulum style balancer?
Re: Cylinder Heads
« Reply #201 on: April 08, 2011, 08:20:49 PM »
The quick answer is I touch it with a marking pen, add clay until it spins true, weigh the clay and drill opposite from where I removed the clay until the chips caught on a magnet weigh the same as the clay. Then spin it again to check and repeat as needed.
If you think you can't do it, you're right.
Re: Cylinder Heads
« Reply #202 on: April 09, 2011, 05:43:23 PM »


Hi guy's!

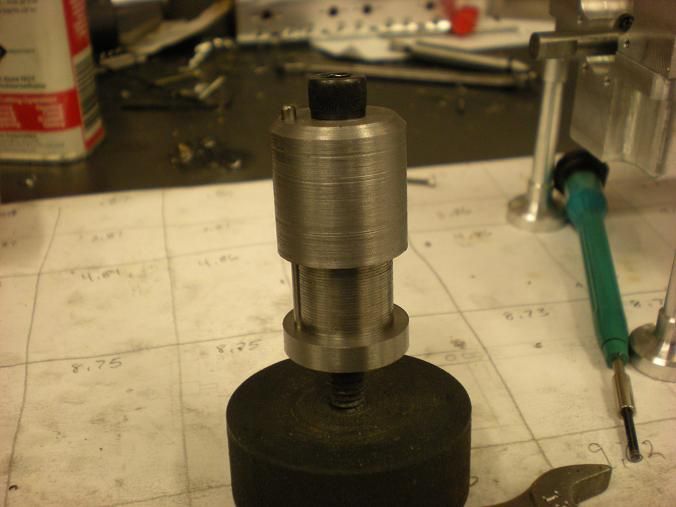
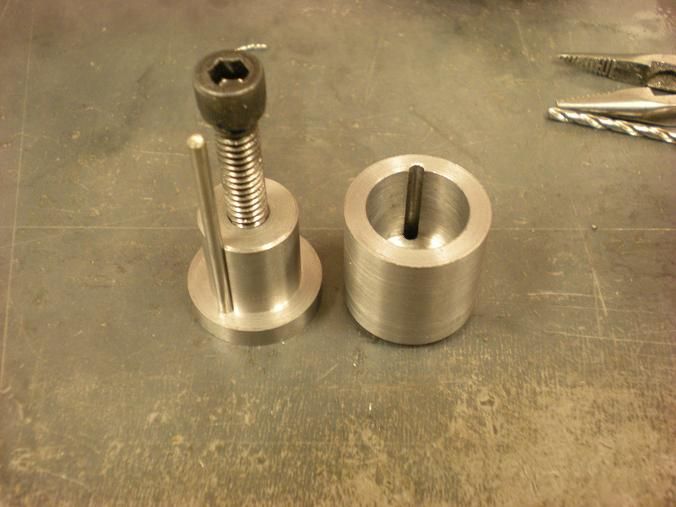
Made some progress on a few things today. I'm trying to get everything ready so the next time the crankshaft comes out, I will have everything ready to put it back in for the last time. I made a couple more collets to hold gears for modification. I made one for the idler gears and this one to modify the crankshaft gear.


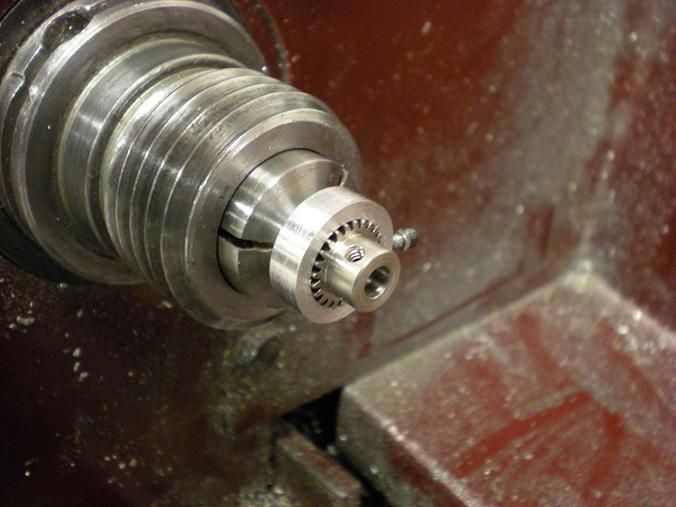
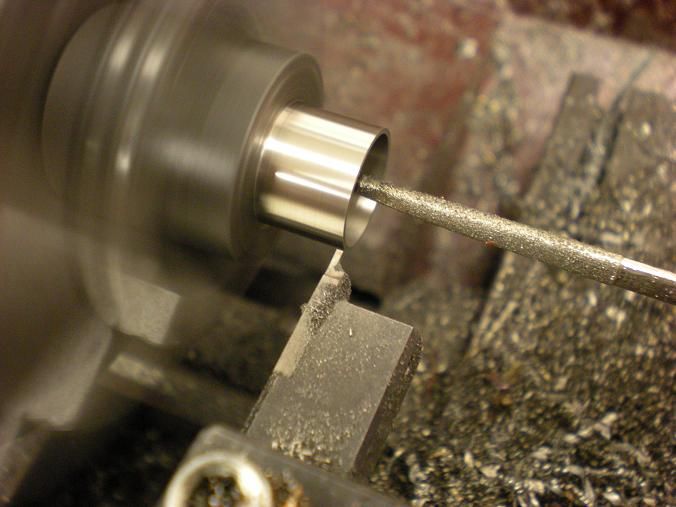
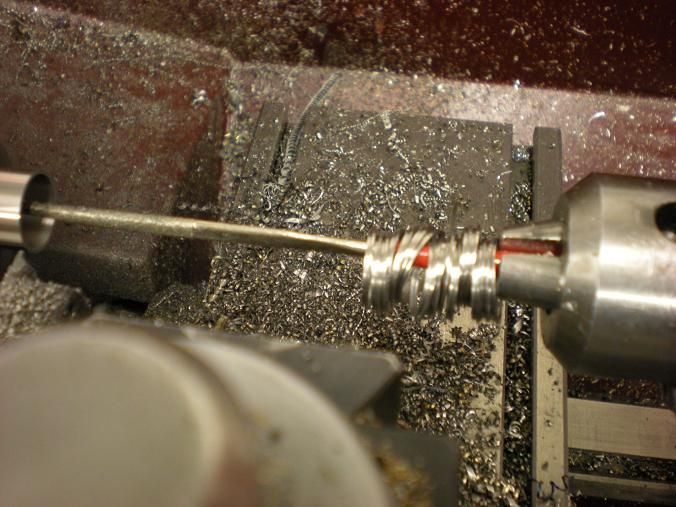
Turned the hub down to the correct thickness. This will put the correct distance between the gear and the bearing.


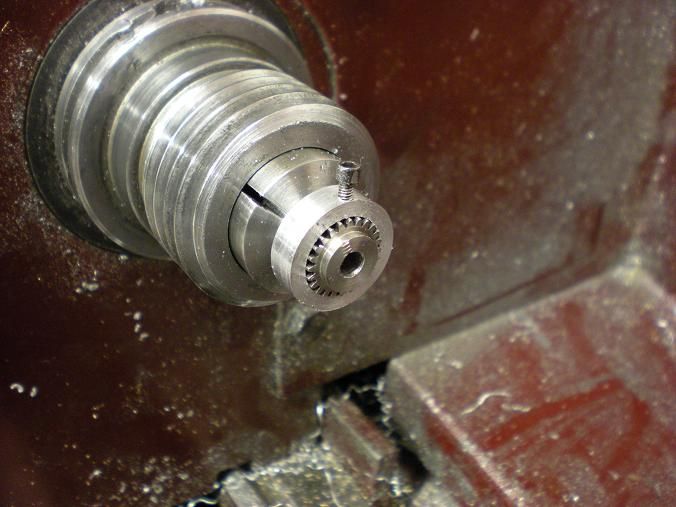
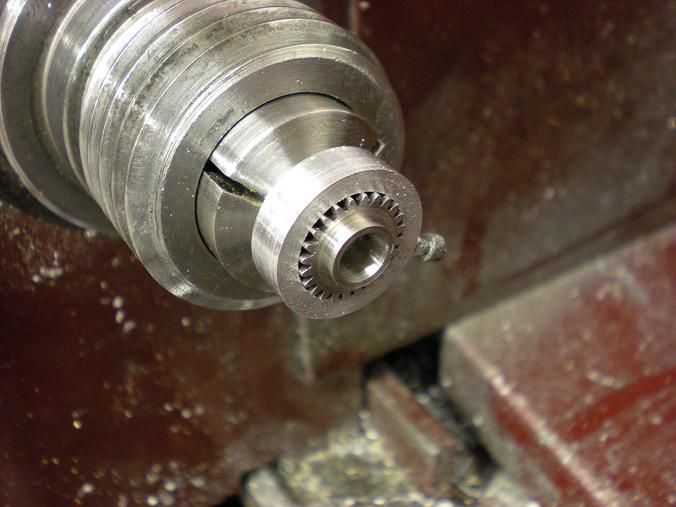
Then the OD was modified to work with the bearing. The bore was opened up to a press fit onto the crankshaft. This finished up the crank gear.


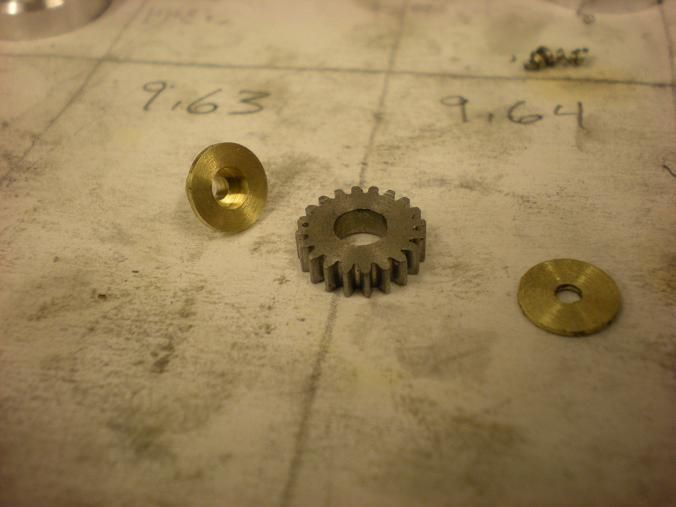
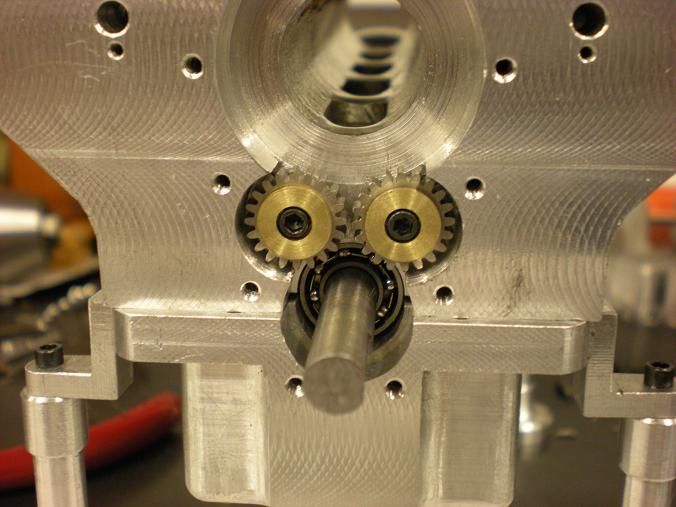
I also made one for the idler gears. The idler just needed the hub removed. I also made the idler mounts. Only one of the idler gears is needed but I wanted to make mine like a Pete Jackson gear drive so i'm going to run 2 idlers.


After that I made my fixture for heat treating my rings. This fixture is made the George Trimble way. I included the fixture in the drawings but it is only good for 5/8 rings.


Turned and bored the cast iron for the rings. Finished with 180, 320, and then 600 grit paper. Real happy with the finish and hit my number inside of .0002.


Loaded 27 rings into the fixture and they are ready for some heat.

Offline Tweakie.CNC

*
  • *
  •  9,196 9,196
  • Super Kitty
    • View Profile
Re: Cylinder Heads
« Reply #203 on: April 10, 2011, 01:27:02 AM »
This is real wonderful engineering Steve, absolutely beautiful.

Tweakie.
PEACE
Re: Cylinder Heads
« Reply #204 on: April 10, 2011, 03:56:03 AM »
awsome work, there are no words good enough  :-* - not u the part :)
Re: Cylinder Heads
« Reply #205 on: April 10, 2011, 09:40:44 PM »
The rings have cooled. I had to boil them to remove the anti-scale powder. I made them .001 thicker than needed so I will polish them with some 600 grit before installing them onto the pistons.

Re: Cylinder Heads
« Reply #206 on: April 10, 2011, 09:41:21 PM »
Re: Cylinder Heads
« Reply #207 on: April 11, 2011, 08:22:31 AM »
yup, not only is this fun to watch is informative. I've assembled a few hundred engines and thousends of transmissions but had no idea how sealing rings were made.


thanks again
Re: Cylinder Heads
« Reply #208 on: April 13, 2011, 06:18:03 PM »
Photo bucket isn't showing your fixture for these rings, but I got away from the anti scale compound by covering the heat treat fixture with this cover. I still added a little bit of paper bag to take up any excess oxygen. The center bolt holds it in place, and the extra collars are so I can treat shorter stacks of rings.

I developed this ring spreader after breaking 24 oil rings through the oil hole opposite the gap during installation. A ring is placed in the holder and followed with the small aluminum ring to keep things square. When the tapered plug is pushed through the ring is opened up evenly and the sheet metal wedge is placed in the gap. The small ring may be removed, and when the fixture is placed over the ring groove the wedge is removed and the ring snaps into place. One of the cylinders is the wet sleeve, the other is a tapered ring compressor.
If you think you can't do it, you're right.
Re: Cylinder Heads
« Reply #209 on: April 14, 2011, 07:02:00 PM »
Photo bucket isn't showing your fixture for these rings, but I got away from the anti scale compound by covering the heat treat fixture with this cover. I still added a little bit of paper bag to take up any excess oxygen. The center bolt holds it in place, and the extra collars are so I can treat shorter stacks of rings.

I developed this ring spreader after breaking 24 oil rings through the oil hole opposite the gap during installation. A ring is placed in the holder and followed with the small aluminum ring to keep things square. When the tapered plug is pushed through the ring is opened up evenly and the sheet metal wedge is placed in the gap. The small ring may be removed, and when the fixture is placed over the ring groove the wedge is removed and the ring snaps into place. One of the cylinders is the wet sleeve, the other is a tapered ring compressor.

Thanks for the info!!  I may try the shielded fixture someday. This is only my second batch I have made this way.