Folks.. from time to time I get to cut rings for Colin(colwax), and man, let me tell you , he designs some lovely one, but !! BEEEEEEG!!!
Most we are not able to post but this one I gotten his permission to post with, so I have decided to do a video tutorial for Rhinocam on this one too.
Without further ado

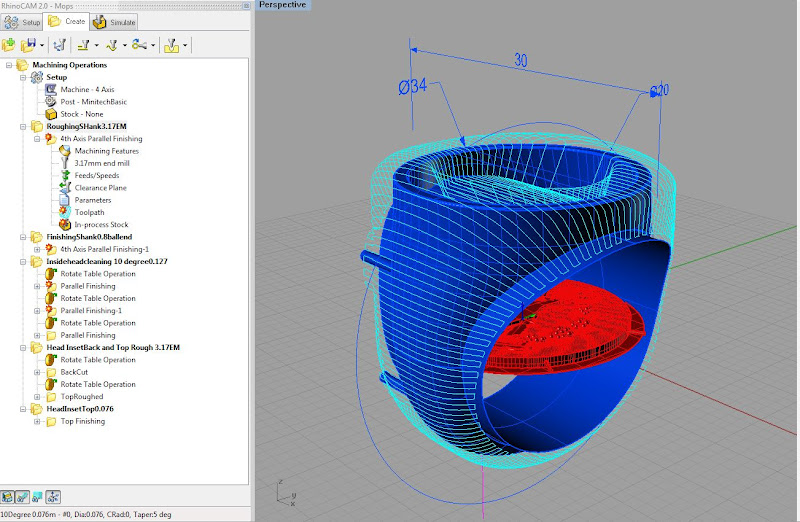
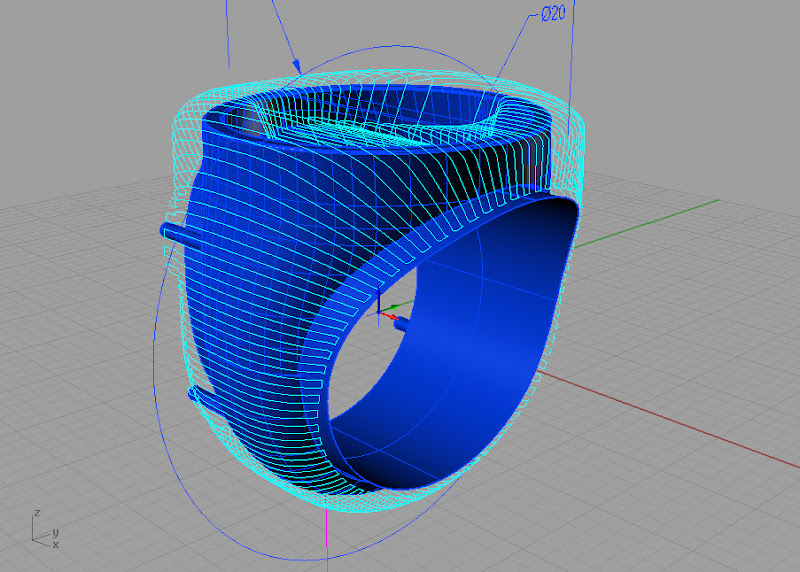
A sneak at the paths involved, 4 tool changes and heap of paths, this will be in video, the rest is methodology
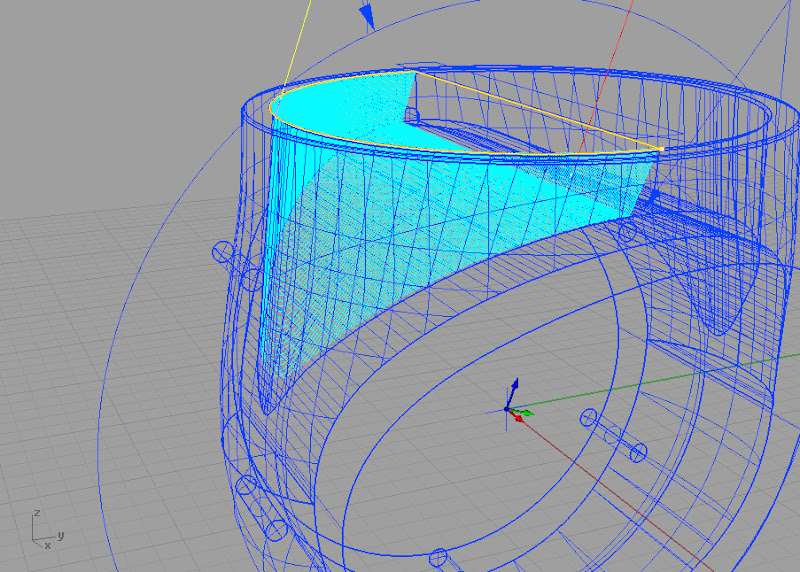
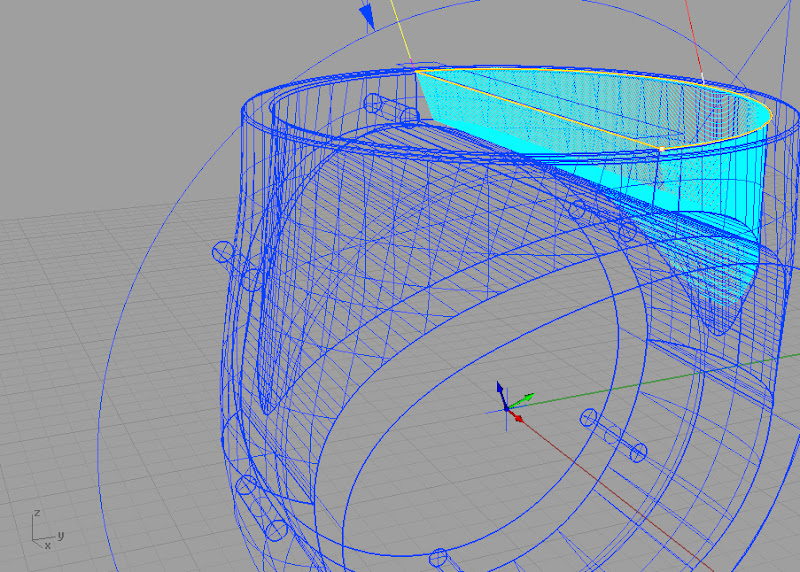
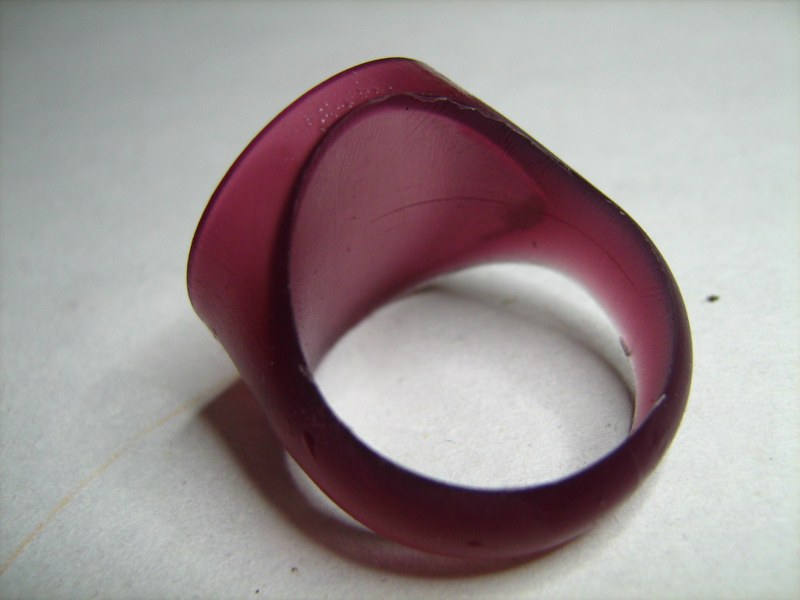
, the only thing more interesting about this job is that it features a hollow head, ie: its not cut through to the finger and has a thin sleeve inside, so accessing those hollow area from the top at various angles was a fun exercise
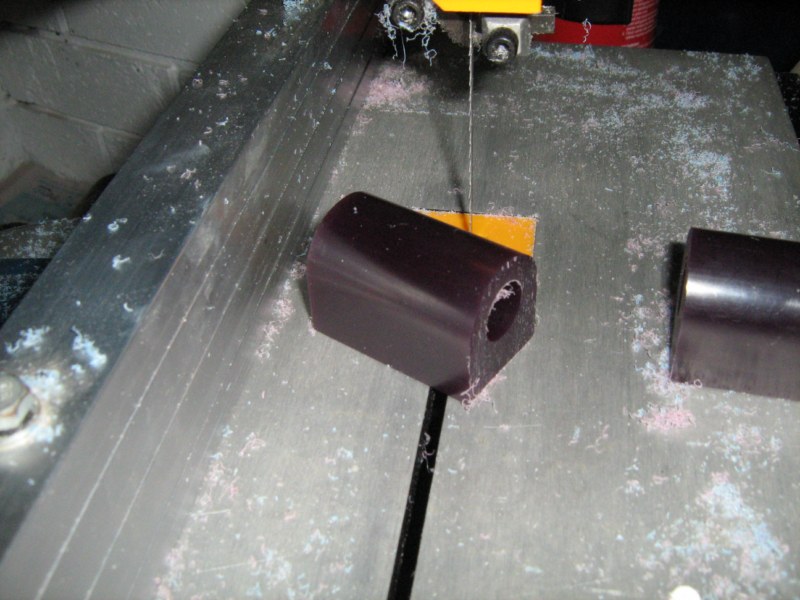
Split a bit of signet tube off,
onto the conical cone clamps
onto the lathe to cut a lip to fit Niko/Kens fixture
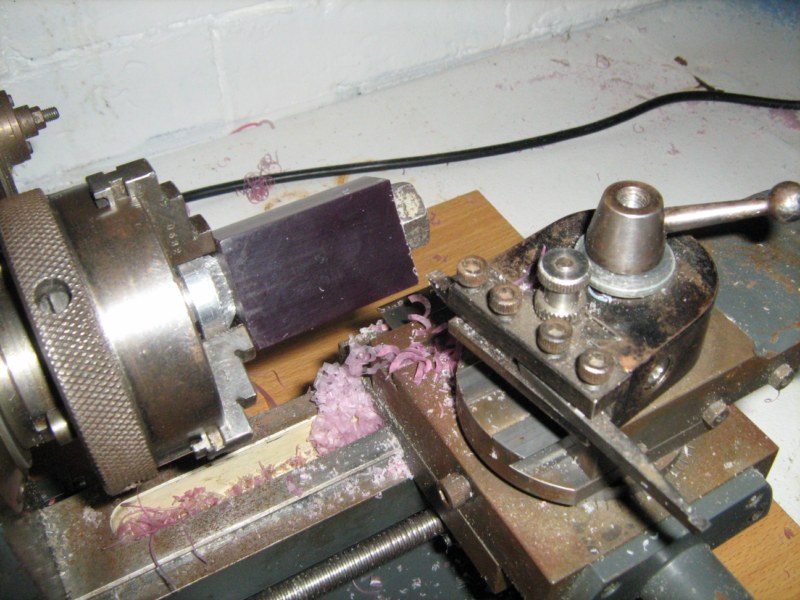
Cut that lip!
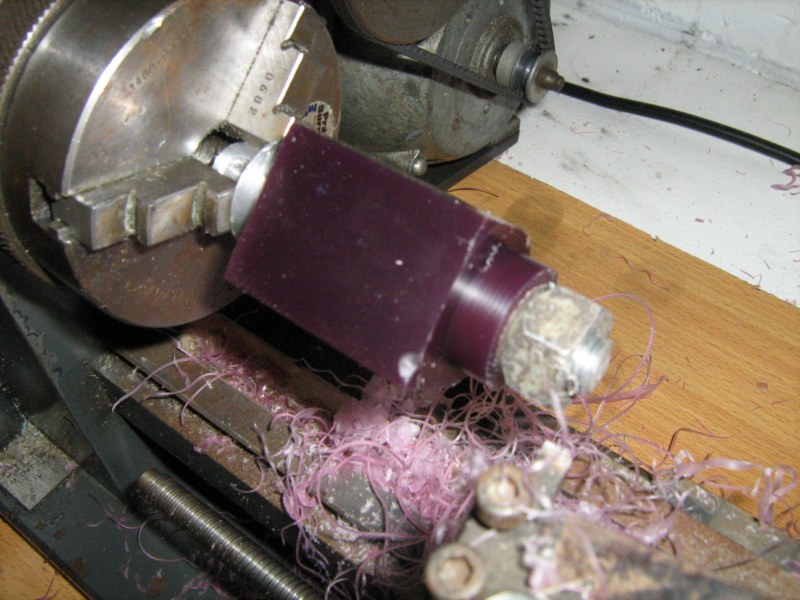
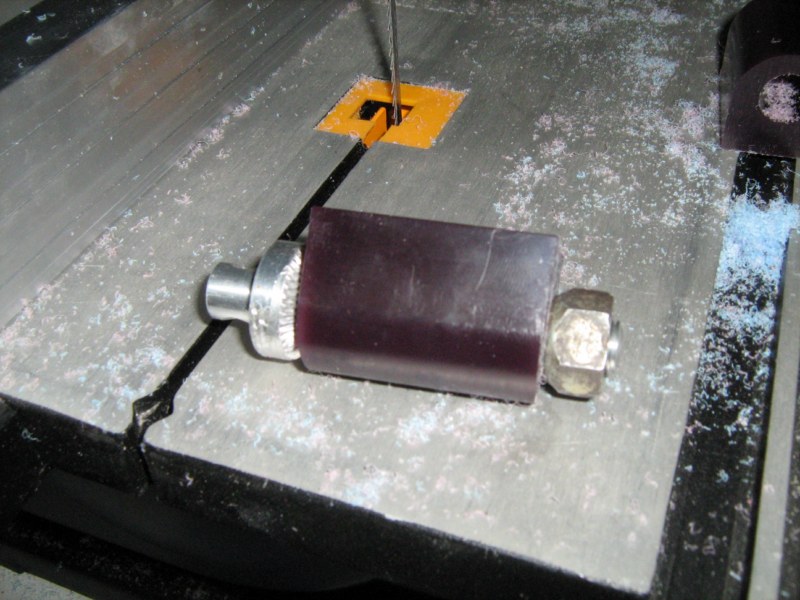
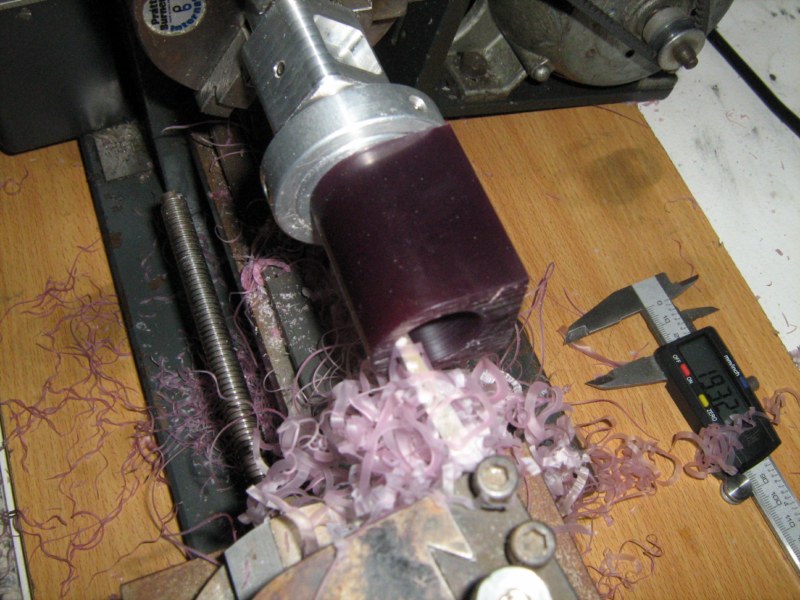
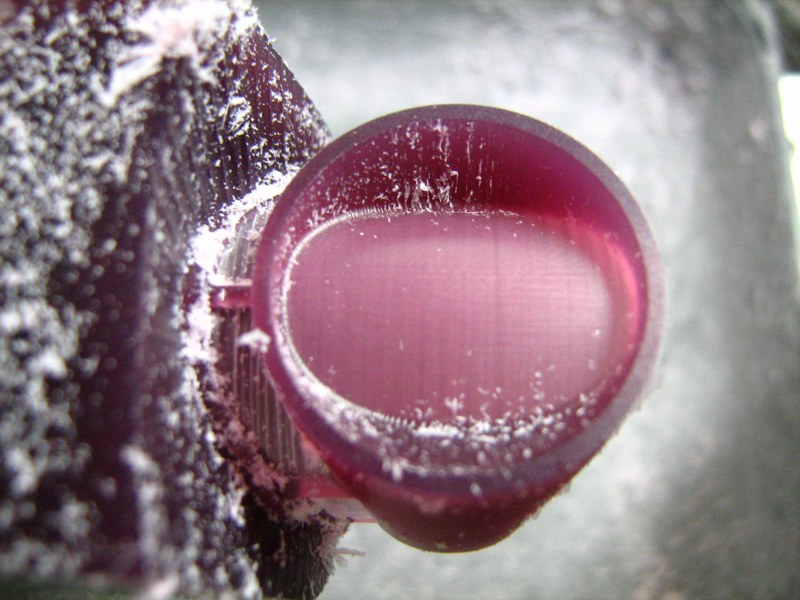
Move lipped section into Niko/Kens fixture and Core the fingersize
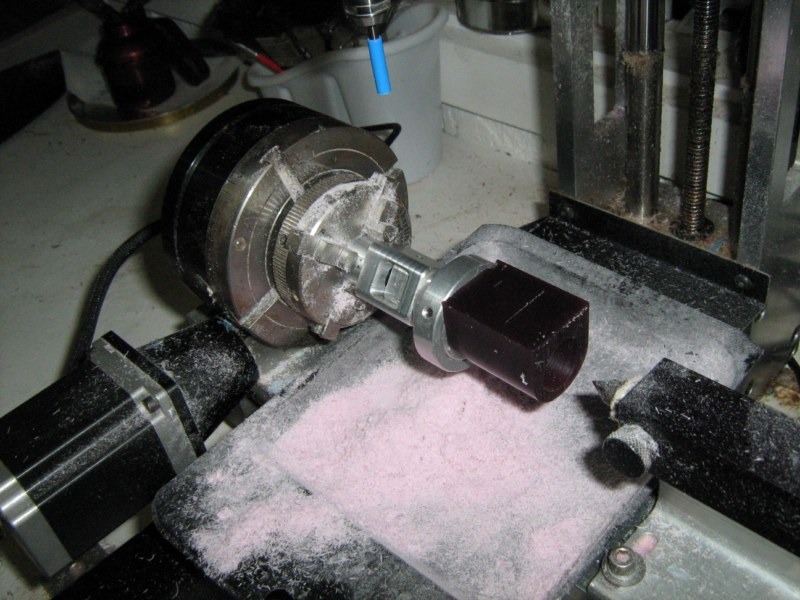
Move it onto the Minitech and leave the rest to Mrs Botha

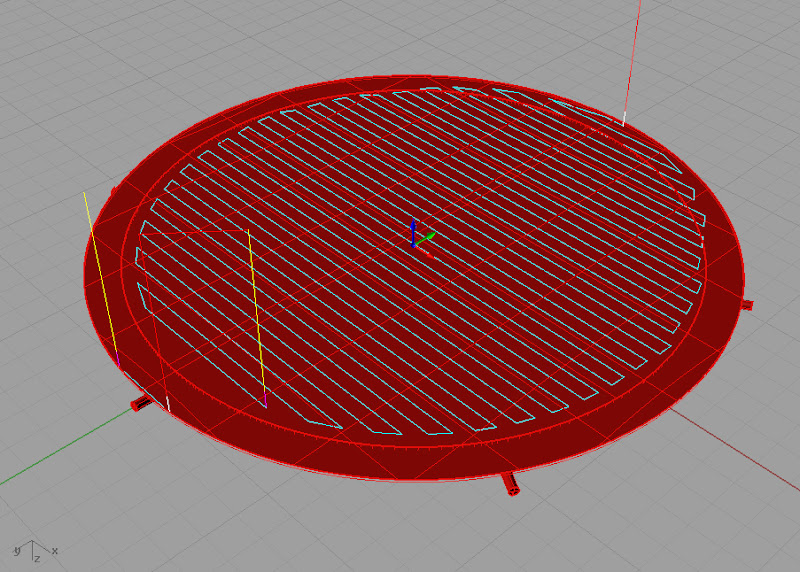
Roughing Pass with 3.17 End MIll

Image of pass setup
Result of Roughing Pass

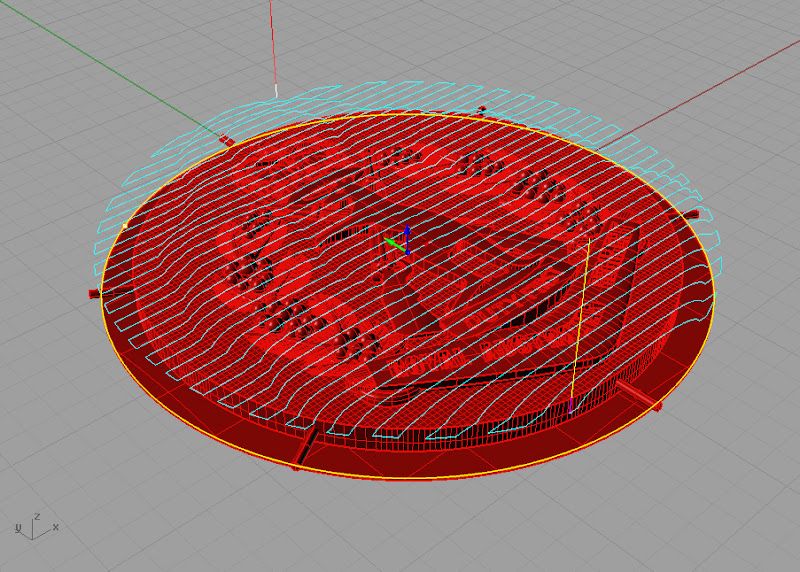
ToolChange to 0.8mm BallEnd and finishing pass as rotary
path representation from RhinoCAm, noteuncut areas,
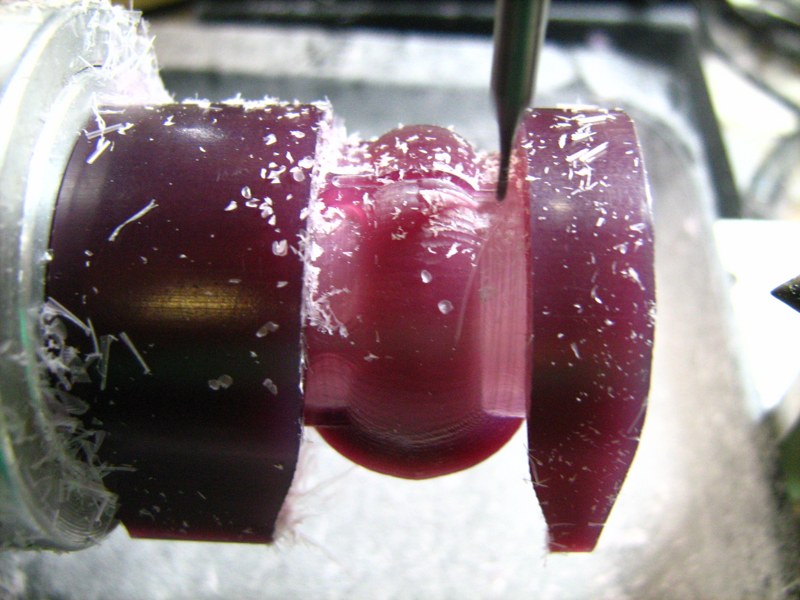
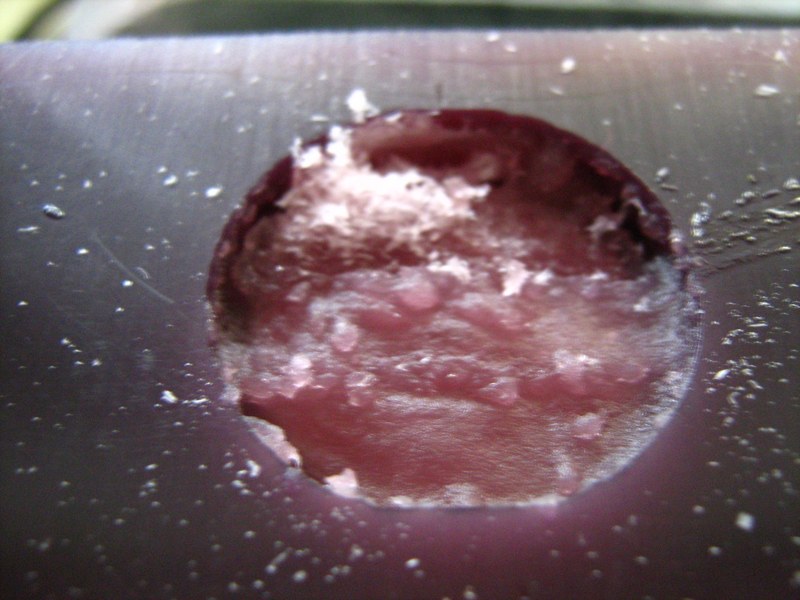
Result of Finishing Pass, uncut areas clearly visible and inaccessible wit 0.8BE even as a index due to tool cut depth
Index pass with 10 degree pyramid using half of extract curve from Rhino Model, and A rolled 16 degrees to right

representation of path
repeat to other side reversing angle
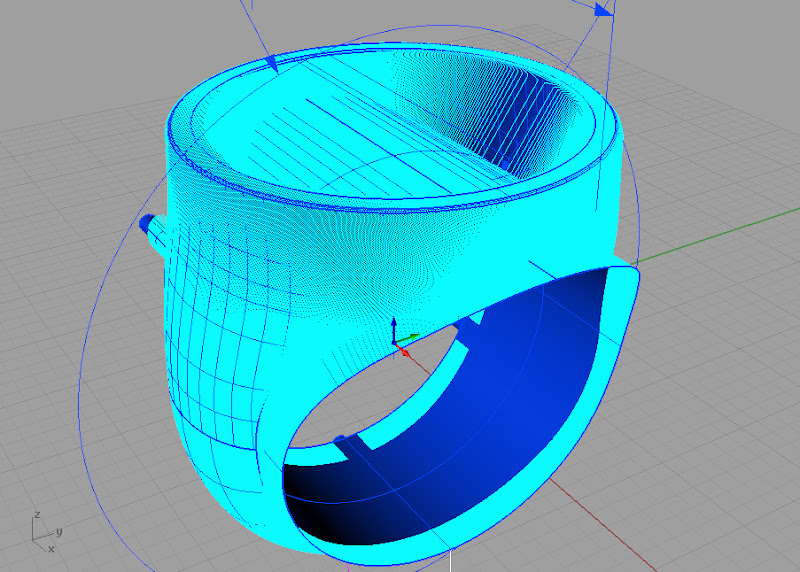
And Voila!
Now for the inset art section roughing 3.17 EM
and paths represented
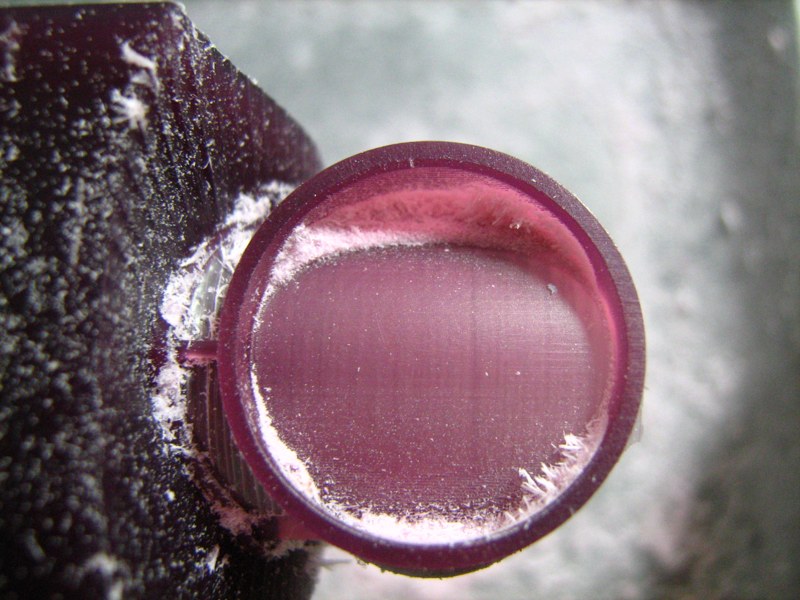
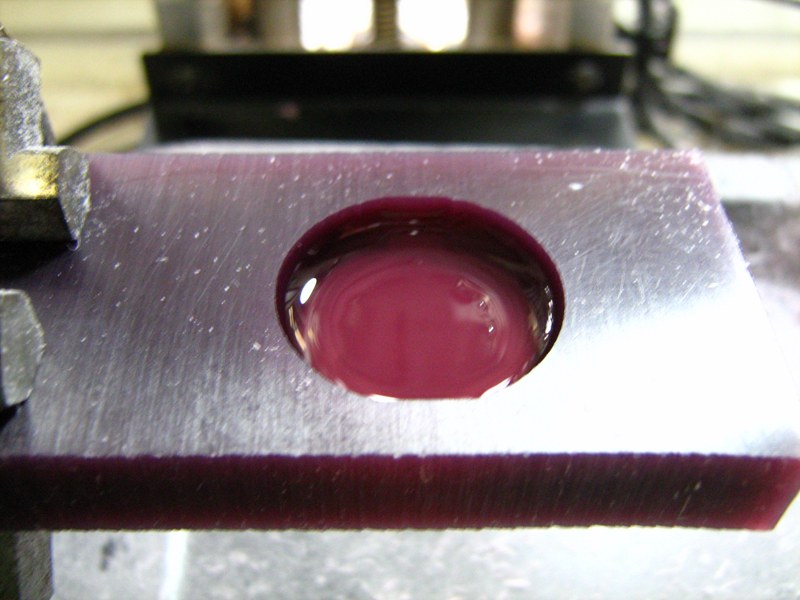
and result then DROWNED in oil and finished
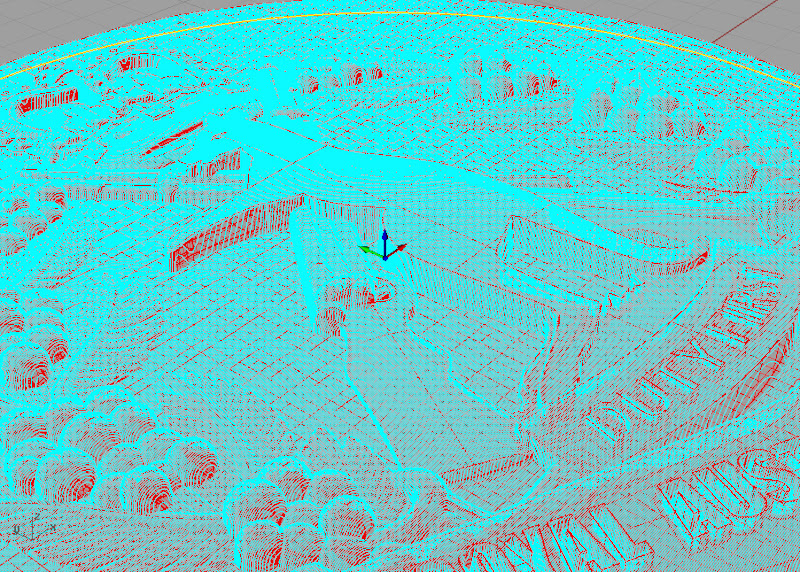
as per this path with 0.076mm tapered cutter
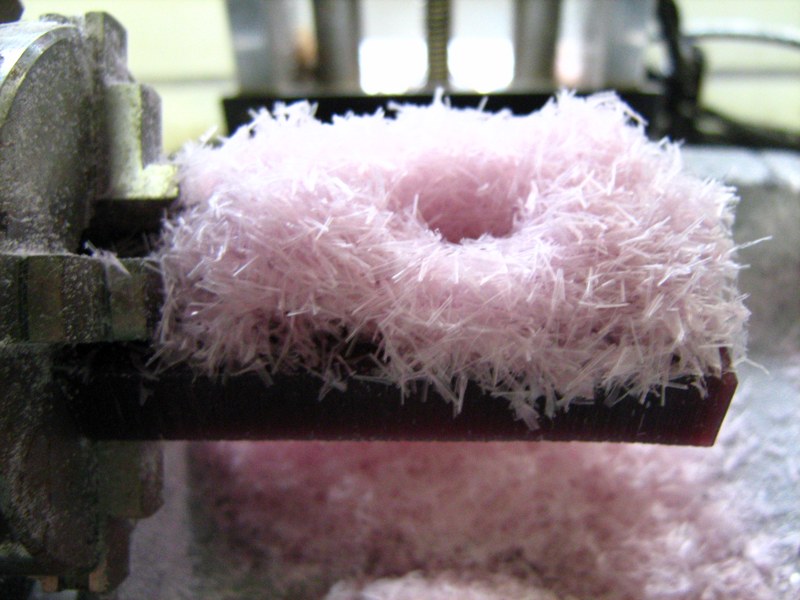
resulting in this GLOP.... off to the ultrasonic..
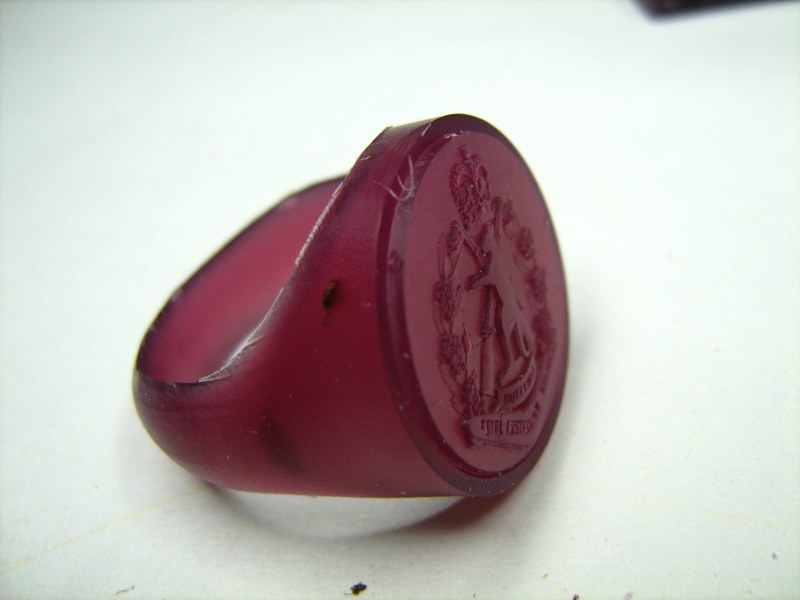
and the final results!


and after casting I assume this wil happen