Hello Guest it is March 28, 2024, 04:58:52 AM

Author Topic: Willis Microcut bed mill Anilam to Mach3 & Viper retrofit  (Read 8356 times)

0 Members and 1 Guest are viewing this topic.

Willis Microcut bed mill Anilam to Mach3 & Viper retrofit
« on: March 09, 2015, 09:56:48 AM »
Finally getting around to documenting this, it has been a few months now since this project started.


This all started when I fried two of the original servo amplifiers (http://www.cnczone.com/forums/servo-motors-drives/244822-fry-servo-amplifiers.html).  This is a pretty large machine, travels are 20 x 40 x 20.  It was not meant to be in a garage, so replacement parts are priced accordingly.  A repair place quoted me $700 each to possibly repair the amps.  New price is $1400 each.  Not gonna happen, and I was sick cause I had parts to make.
Here is the machine at that time


I had long been dreaming of getting rid of the clunky dos-based control but there was one thing that kept me from doing it,...It worked and was very accurate.  Having been through Mach builds before I know sometimes things can be less than predictable (the windows based motion control anyway).
With the idea of it "working" out of the way, it was time to look for another solution.  As an aside, I make custom footboards for bass drum pedals  
Luckily I had several stocked up, but I needed to get the machine going again asap.
I had received a private message from Larry Kenny of Larken Automation (www.viperservo.com) several months earlier when I was researching the idea.  At the time it was between the Viper 200 and another drive CNC4PC carried.  They were the only reasonably priced drives that accepted step-direction and could handle the servo power requirement.  The servos are SEM 140v, 6.5A continous, 30A peak, 31in-lb.
After a phone conversation with Larry I was confident that the viper 200 was the way to go.  Larry was very helpful and support means a lot in this kind of project.  3 viper 200's and a BX7 breakout board on order...
Re: Willis Microcut bed mill Anilam to Mach3 & Viper retrofit
« Reply #1 on: March 09, 2015, 10:40:13 AM »
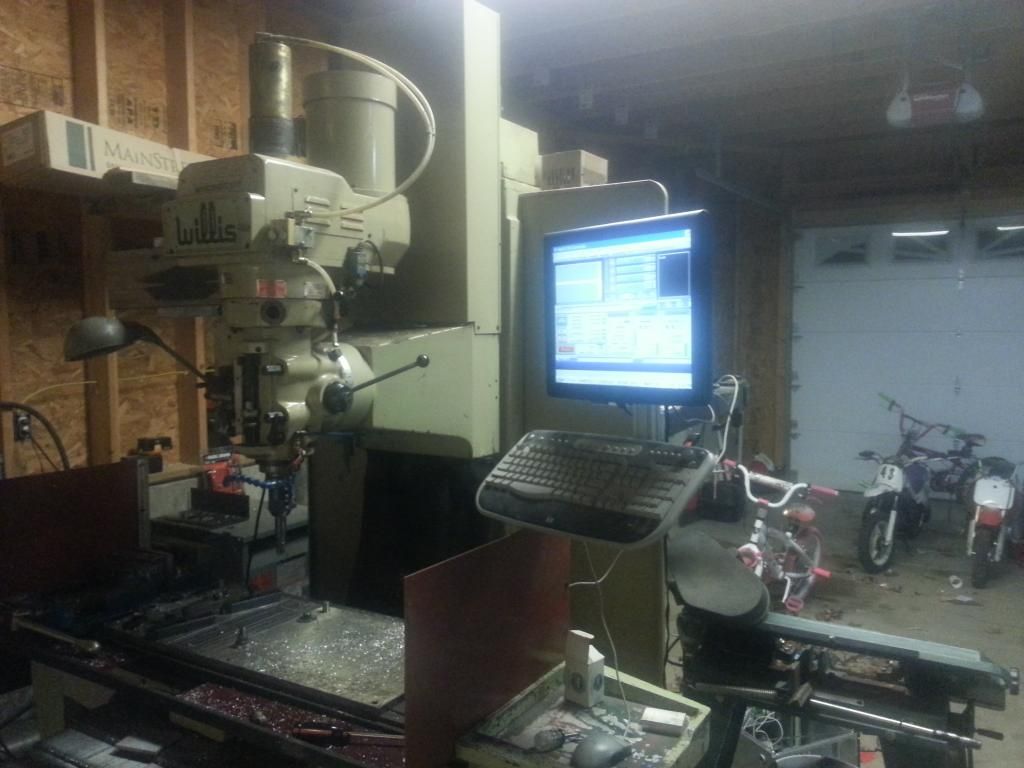
Time to start yanking wires!  One last look at it....
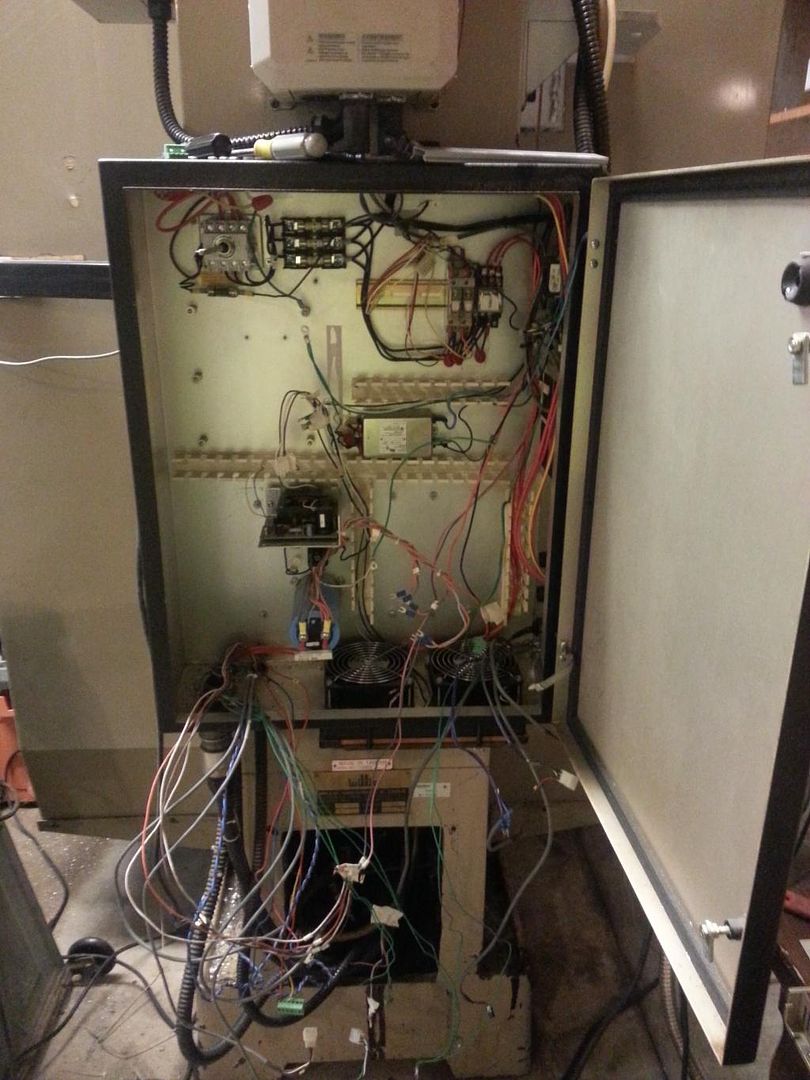

Mostly gutted...


I decided to mount the PC internally to try and keep things neater, wires shorter, etc.  I came across a touch screen at work, picked it up for a whole $20.


So the thinking is the motors are good and I will use them.  The existing power supply should power the motors just fine since they did with the original drives, right?  The original power supply is just 120v rectified with a large cap so 170vdc.  More on this later.

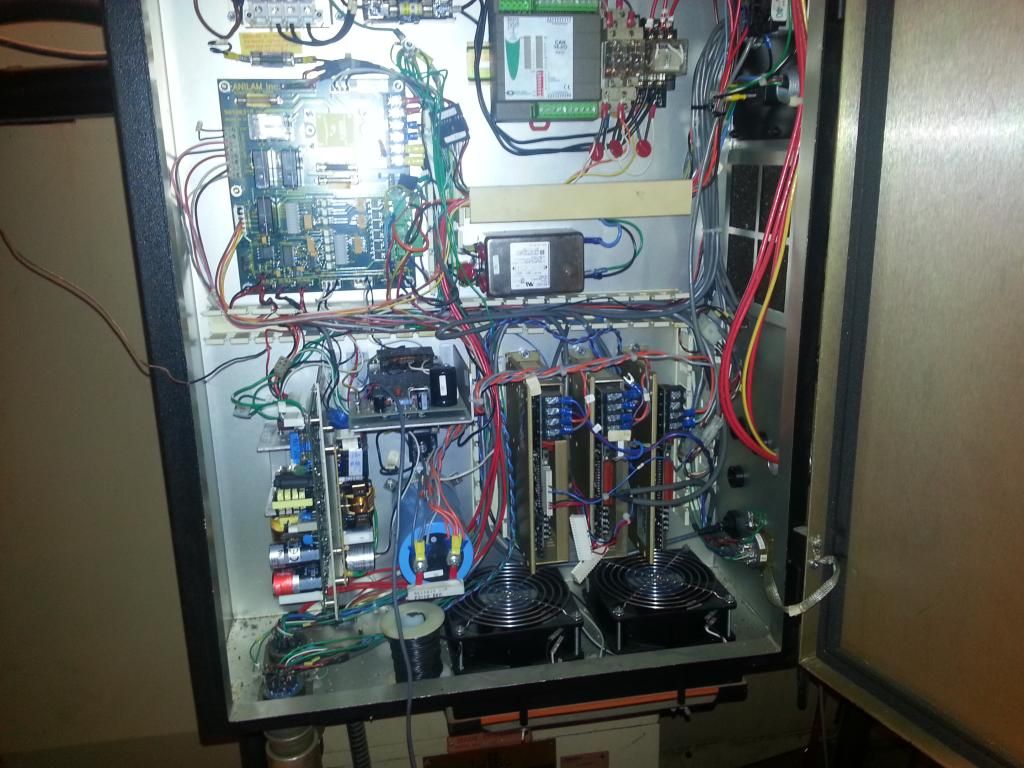
The drives are here, so time to get busy wiring.  Lots and lots of wires, and lots of reading material.  I had to fab some angle brackets to mount the drives card style.  This kept them directly over the existing fans.


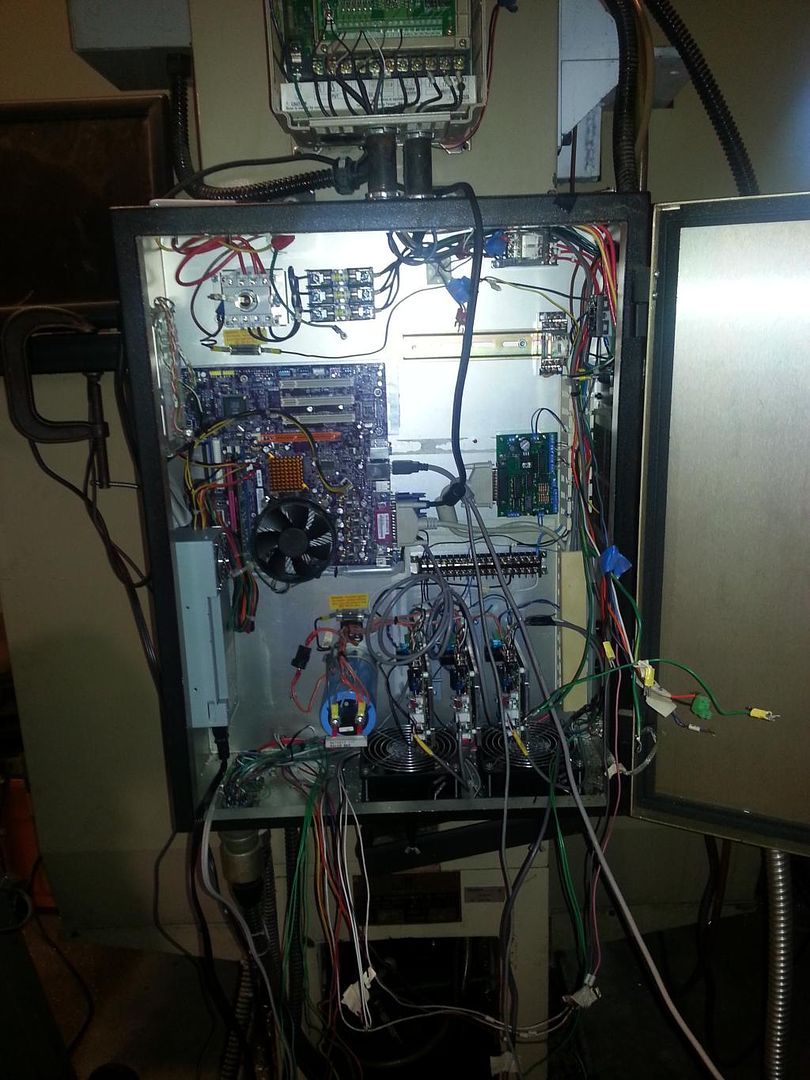
At this point I was able to power up the drives and make some initial moves.  Servos were not tuned, but motion was still decent right out of the box.  This was very basic at this point, no limits, no servo enable, but I had motion.  I also ran into an issue.  I could not (or rarely could) turn the drive power on without tripping a breaker.  I even burnt out a contact on my power switch.  The current draw was way too high at startup.  If you look at the pic above I have a power resistor inline after the rectifier.  This allowed me to turn it on, but limited me on performance.
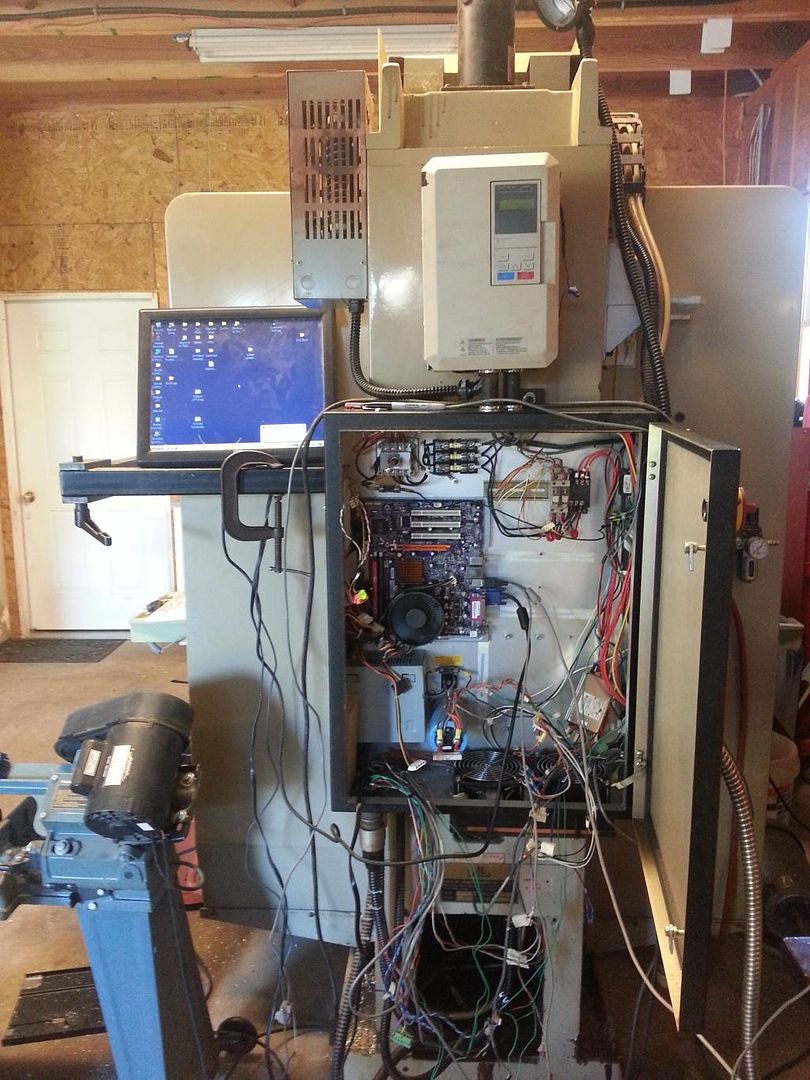
To fix this, I needed to add a relay that would pull the resistor out of the circuit after a delay.  Well I need a servo enable relay, a relay to bypass the resistor, and a timer.  At some point I planned on adding a PLC, because I plan on adding a toolchanger and who knows what else down the road.  So PLC added, two relays for servo enable, and limit wiring tied to enable relay.  The PLC is programmed to close the first relay then the second after a couple seconds.  It is also tied to Mach via modbus, and locks out the reset button when servos are not enabled.


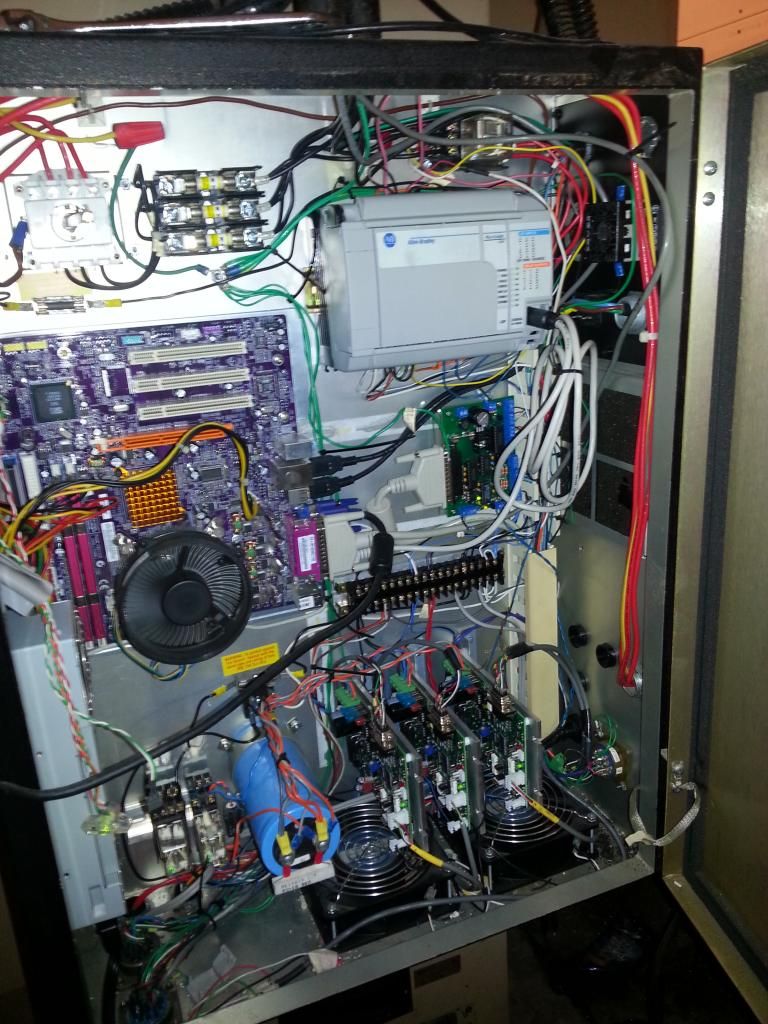
So at this point it is functional, though the interface leaves much to be desired.  A simple touchscreen and keyboard will do for now, time to fabricate a real operator interface.


Re: Willis Microcut bed mill Anilam to Mach3 & Viper retrofit
« Reply #2 on: March 09, 2015, 11:07:21 AM »
So a couple months have passed since I started this retrofit, and I have already completed a couple relatively large machining jobs (for a home shop).  Probably have 24 hours or so on the setup and though it is still not complete, it is working reliably.  
Time to make some more pedals finally.  In the middle of the first part I stop the program to make a program edit and I start smelling something all too familiar.  Walk to the back of the machine and see the X-axis drive flashing 8 times.  Short circuit protection.  Probably just the output transistors on the drive, no big deal.  Wrong.  Motor is fried.  After many attempts to revive the servo motor, it just isn't happening.  Tried turning the comm down, cleaning it up good, checking what wiring I could.  All seems well with the motor, it will even run off an 18vdc source, but arcs out as soon as I hook up the drive (remember 170vdc).  So off to ebay, found a Glentek motor that has similar specs, actually slightly voltage and rpm rating.  Fingers crossed got it installed and it works.  Works real good infact.  It is running 270ipm rapids right now, and could possibly go faster.
So back to work.  a week or two later  I am working on the machine and the Y-axis trips out, 8 flashes (NOOO!!).  This one will clear and still run as long as I keep the acceleration and rapid speeds down.  Time to make a call to Larry, I can't have this happen again.
Larry's recommendation seems obvious now, the voltage is just too high.  I don't know what kind of magic happened in the original glentek drives, somehow they got around it.  Larry mentioned that you can actually use the secondary of a low voltage transformer to subtract or add from the main voltage.  Very useful concept, can't believe I never heard of it.  I realized I have an old Bridgeport Boss regulated power supply.  Found the 24v coil in the transformer and wired it to produce 96vac.  I am now getting 133vdc, awesome!  Did not lose any rapid speed, actually I increased them as I am now more comfortable that I am not overloading something.
Hopefully that was not too difficult to follow, more to come!
Re: Willis Microcut bed mill Anilam to Mach3 & Viper retrofit
« Reply #3 on: March 09, 2015, 11:46:12 AM »
Time to start working on the console!  I didn't want the keyboard to be a primary input device for the machine, so I need buttons.  I just happened to have a Pokeys 56e board that I just haven't been able to find a permanent home for.  I had never tried their Mach plugin so I did some testing.  Response time is good very similar to the keyboard, so lets use it.  
I don't have many pics of the fabrication.  The wiring is contained within the support arm and goes through the trunnion (custom) to the console.  Less wiring to get snagged.


All powdercoated


BTW, it got cold on me so I added a wall, insulation and heat to make a nice sized shop.  Notice the big removable section in case I ever need to move the machine out.


The buttons and MPG are all from ebay, and I am satisfied with them (especially for the price).  The MPG is great, professional feel to it.  I am still waiting on some buttons and LED's but I have enough for testing.
My only issue with this setup right now is I have a high cpu load when the pokeys plugin is running.  Like 80% load, and it causes software crashes.  I am working with Polabs right now and I hope we can get it resolved.
Re: Willis Microcut bed mill Anilam to Mach3 & Viper retrofit
« Reply #4 on: March 09, 2015, 11:51:07 AM »
This is a place holder for my mach 3 setup.  Right now I am just using the demo version of 3 and saving my pennies for Mach4 as I have high hopes for it!

Offline Tweakie.CNC

*
  • *
  •  9,196 9,196
  • Super Kitty
    • View Profile
Re: Willis Microcut bed mill Anilam to Mach3 & Viper retrofit
« Reply #5 on: March 09, 2015, 12:20:13 PM »
Nice work Jderou, thanks for posting the pictures and information on the electronics refit.

Tweakie.
PEACE