Hello Guest it is April 23, 2024, 03:54:25 PM

Show Posts

This section allows you to view all posts made by this member. Note that you can only see posts made in areas you currently have access to.


Messages - stevehuck

Pages: « 1 2 3 4 5 6 7 8 9 10 11 12 13 14 15 16 17 18 19 20 21 22 23 24 25 26 27 28 29 30 31 32 33 34 35 36 37 38 39 40 41 42 43 »
281
Made a few carb parts today

Air bleed adjust screw


Fuel adjusment screw


Fuel fitting


Finished the machine work on the rear float bowls by adding the fuel passages.


282
I couldn't resist making a few parts so I started on the carb. It is a simple drum type carb with adjustable air bleed. If it works out OK, I will include it in the drawings.


283
I've been following this with great interest and I'm amazed at the amount of patience you've got.
I'm in the middle of making an Edwards 5cyl radial engine and I've got a little impatient at the repetative bits, my sons just the same, it's got to appear in front of you after a few minutes :-)

To make things worse, I'm building 2 with a spare head. Things that I would need 16 of, I am making 40 and in most cases 44-46 pieces. I think the worst is over now. I have all the parts for the heads done. Now I need to assemble all the rockers and recut the water jackets and the heads will be ready 100%. I even have the head gaskets done.

I would like to see the edwards. Any pics online anywhere?

284

285
Today I decided to finish the air cleaner lower pan. I found a piece of scrap large enough and faced it and turned the OD.


The air hole and mounting hole were both drilled from the bottom side.


The ID of the mount was bored with the boring bar


Then by some miracle, the part was parted off.


Then the front was cut to shape and that is where the camera battery died.


It was finished off in the CNC mill. I think it is a close replica of a 14 inch Edelbrock. Only without the Edelbrock.


286
Not the word you want to use for a motor, but that's just friggin adorable-  :D

Dave

Your right. Just sounds wrong.

287
I finally did it!!

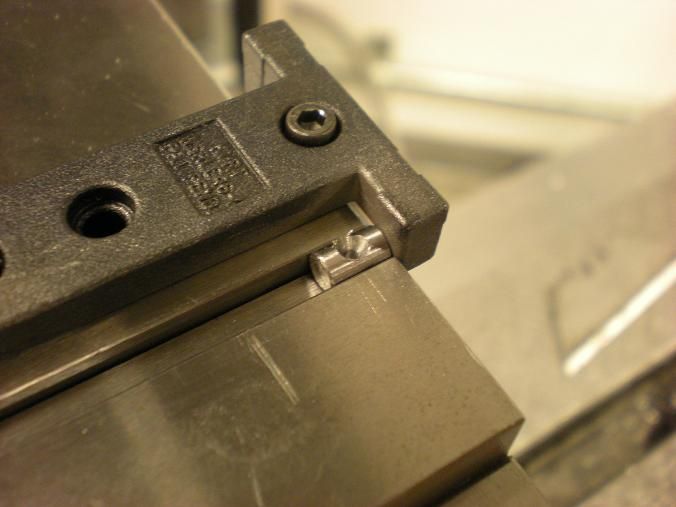
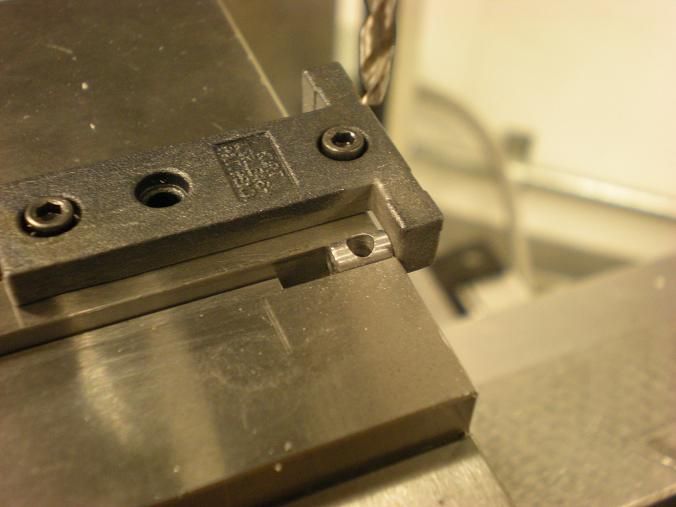
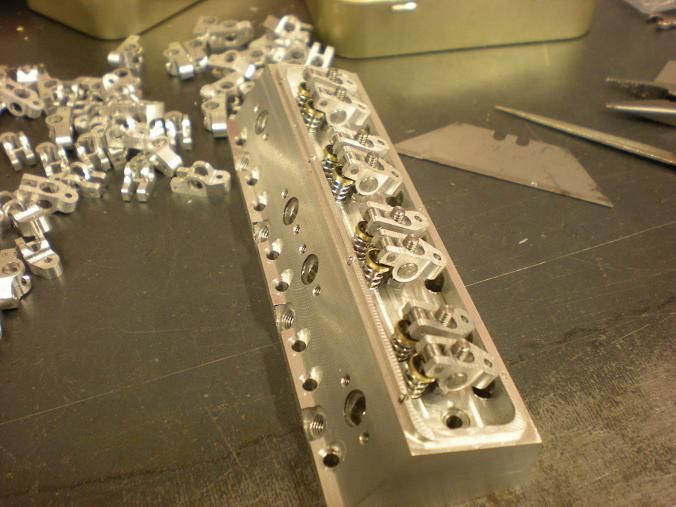
I finally had some time to get the rocker arms done. I put a few together and tested the amount of actual rocking motion and of course, Not enough. I started the day re-cutting the slot by just a few thou. I might have gotten away with what I had but the pushrod length would have had to be exact so why fight it.


Then the counterbore was done. I had a club member regrind a #2 counter bore bit so the pilot was a few thou smaller than the tap drill instead of the clearance hole. I was able to then counter bore the bottom for a caphead screw.


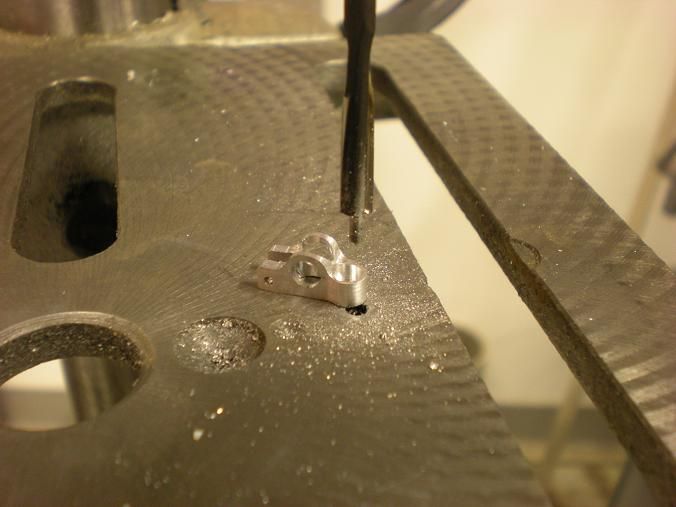
Then all that was left was the tapping of the holes in the tail. Thru hole with 1/16 of material, what the heck. I used the "speed tap wrench" to get the job done.


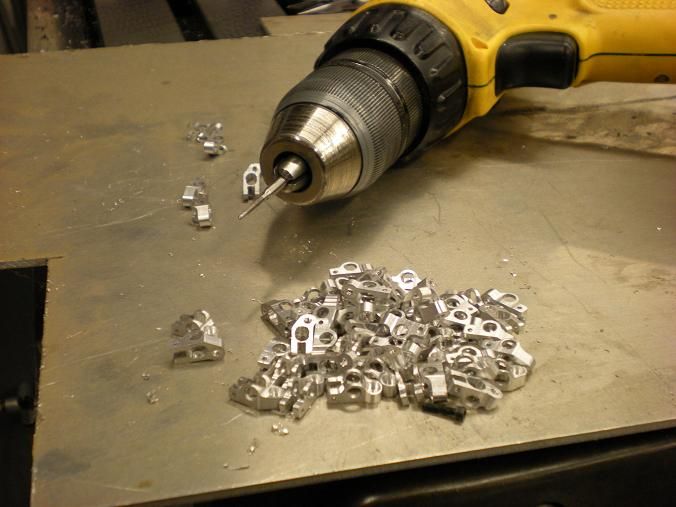
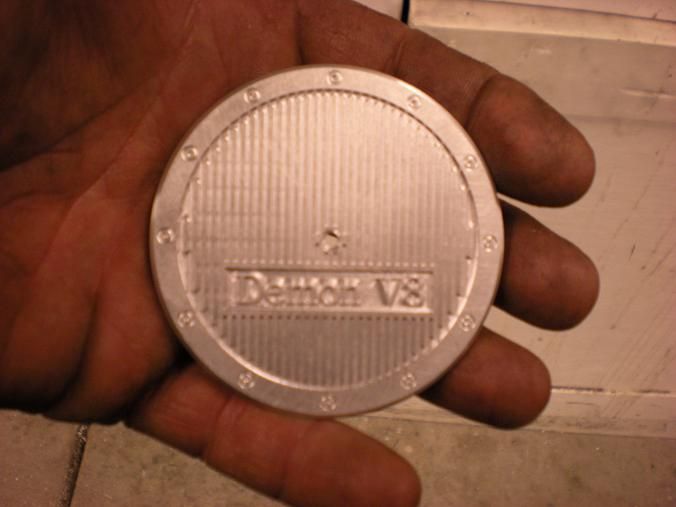
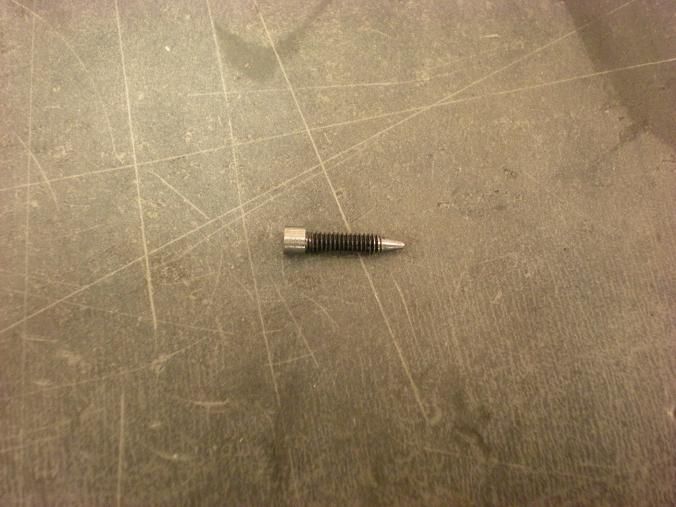
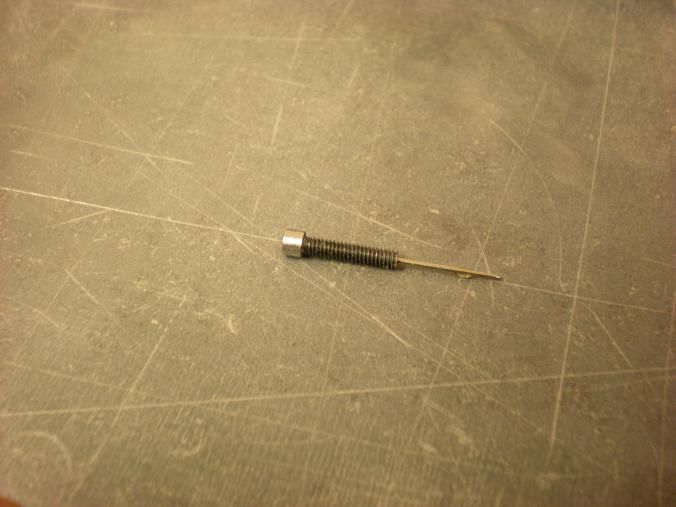
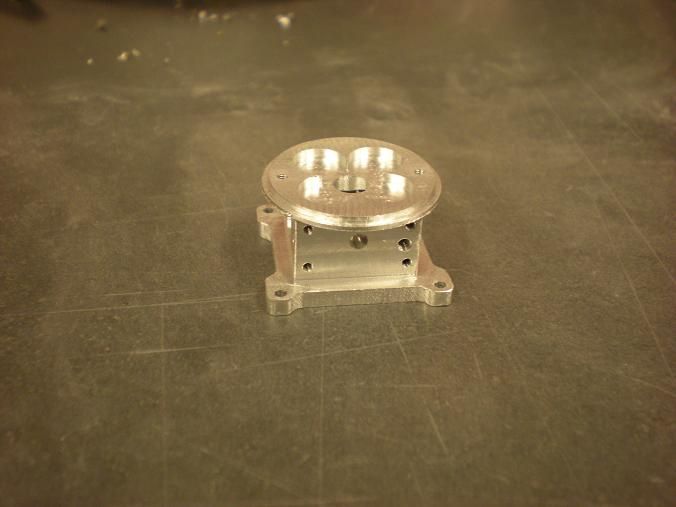
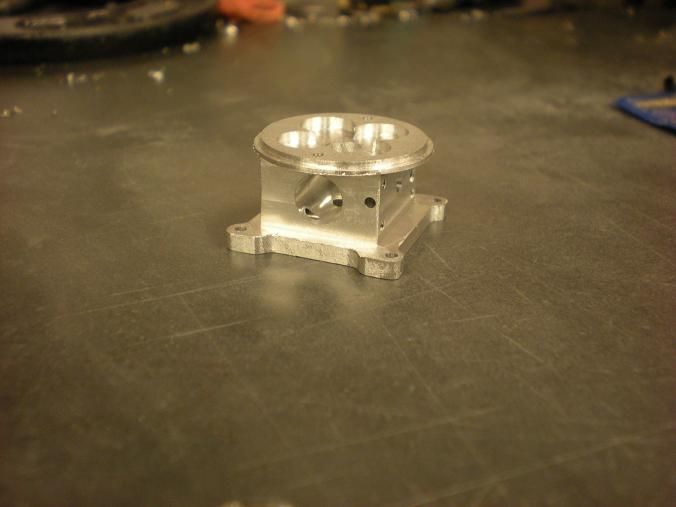
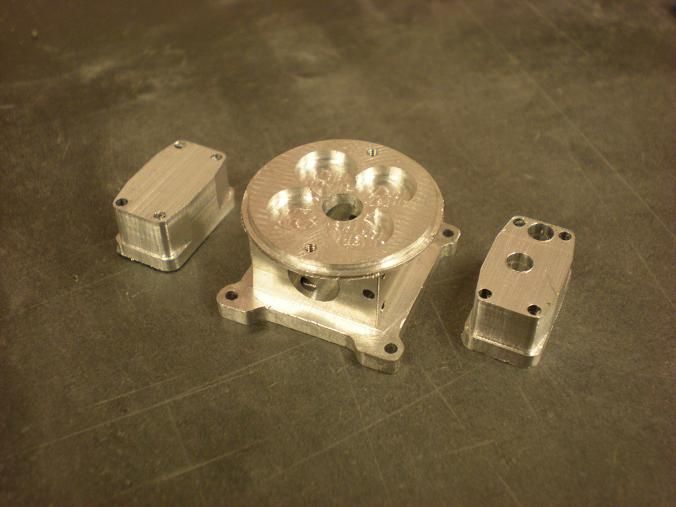
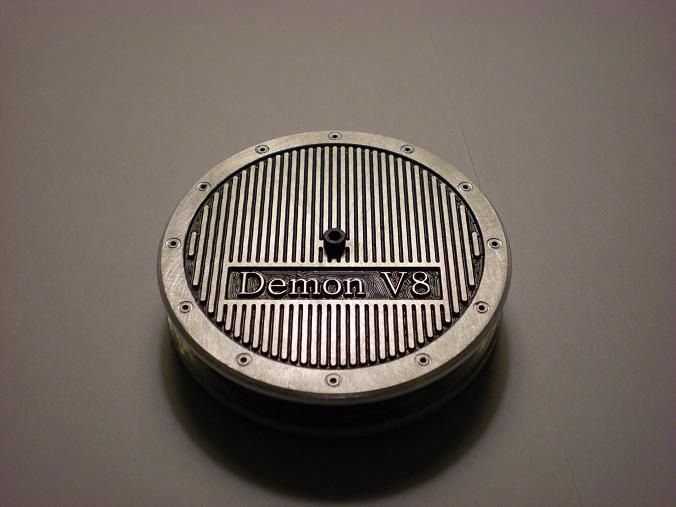
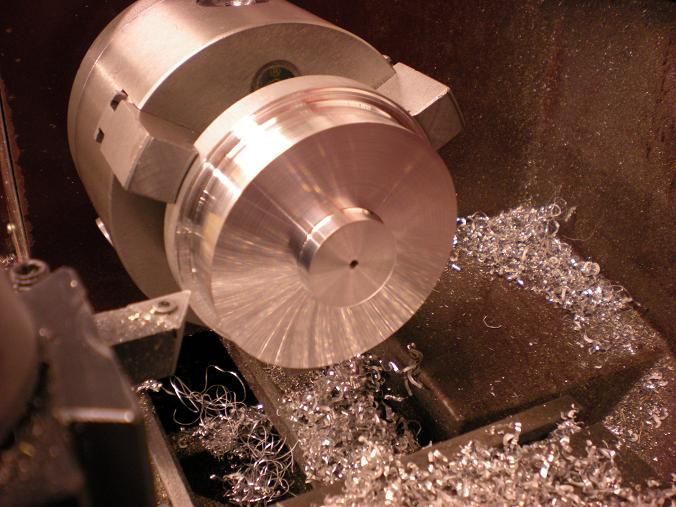
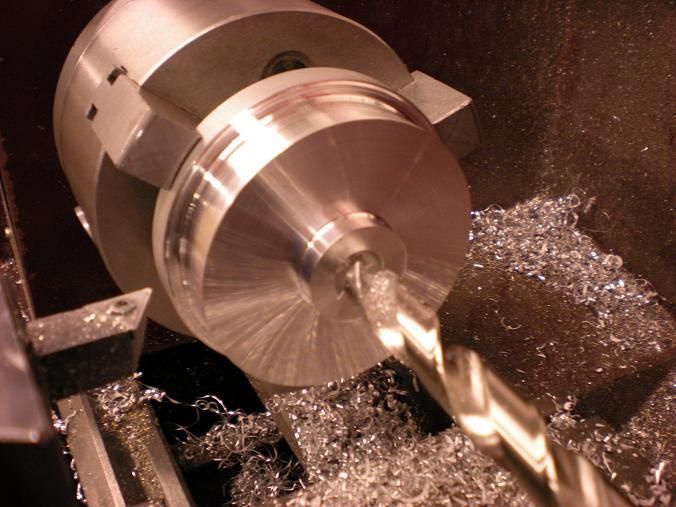
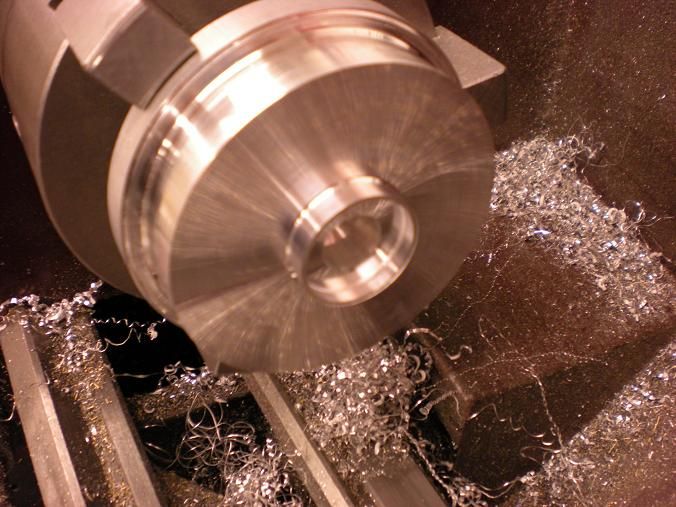
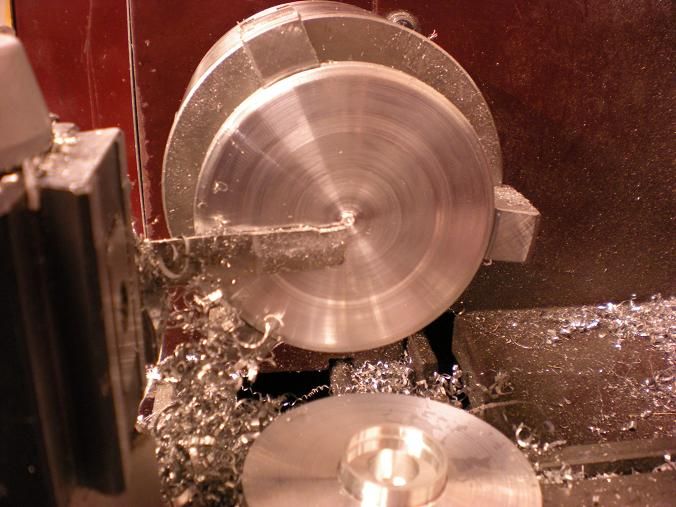
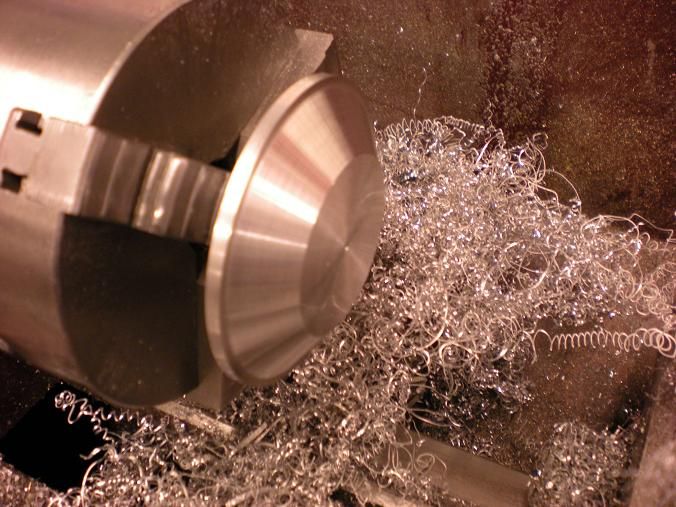
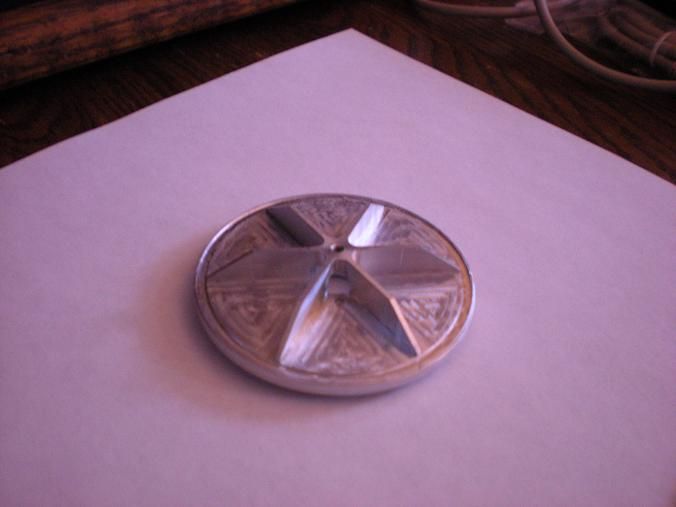
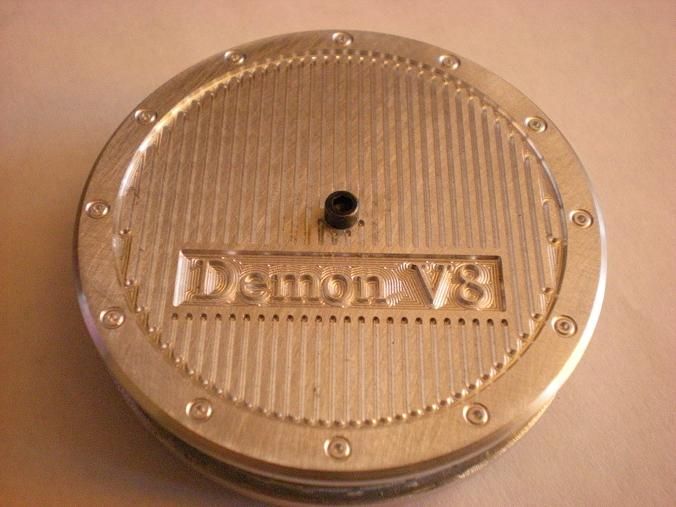
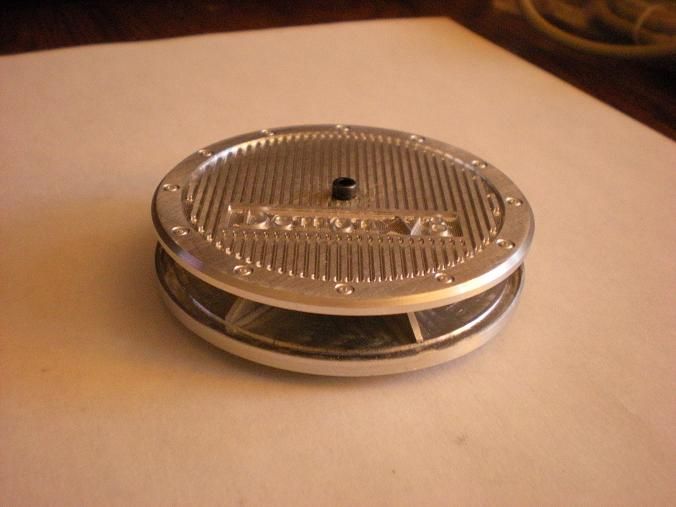
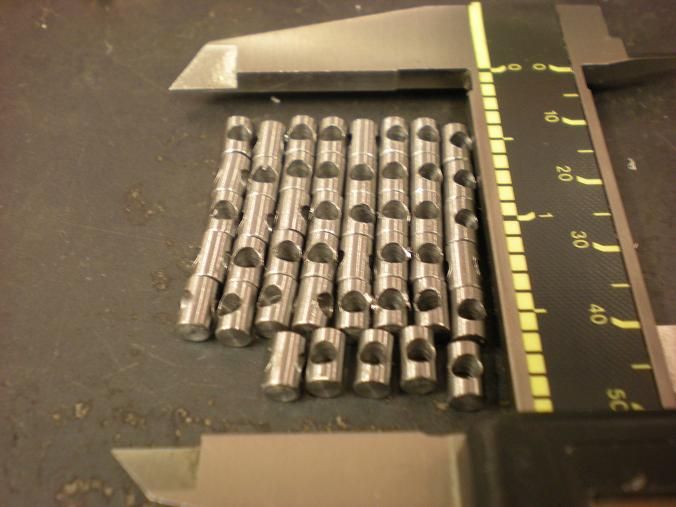
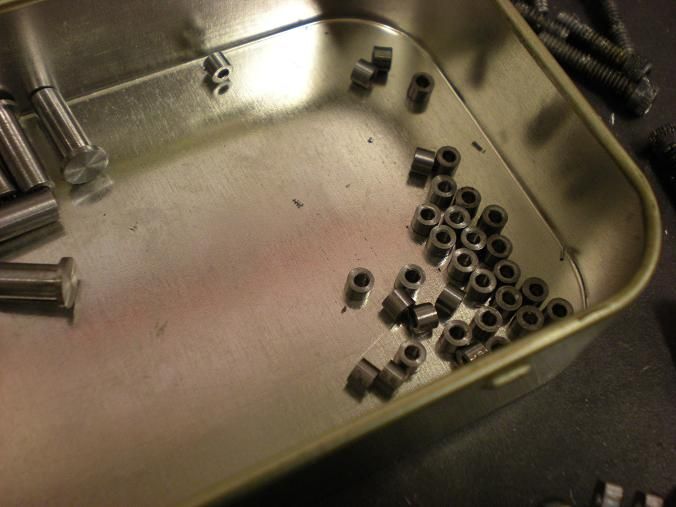
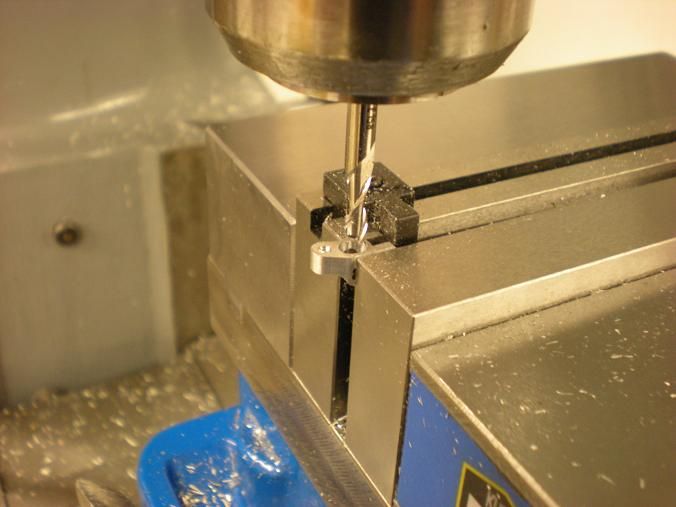
After that I started to make the adjusting nuts but after 2 I didn't feel like doing them. I wanted to have some fun instead of the production line stuff that has been going on lately. I decided to make the air cleaner lid after looking at JPeter's V8. He has a cool air cleaner on his and I was thinking "I want one of those". So I spent the rest of the session watching the mill make me one.

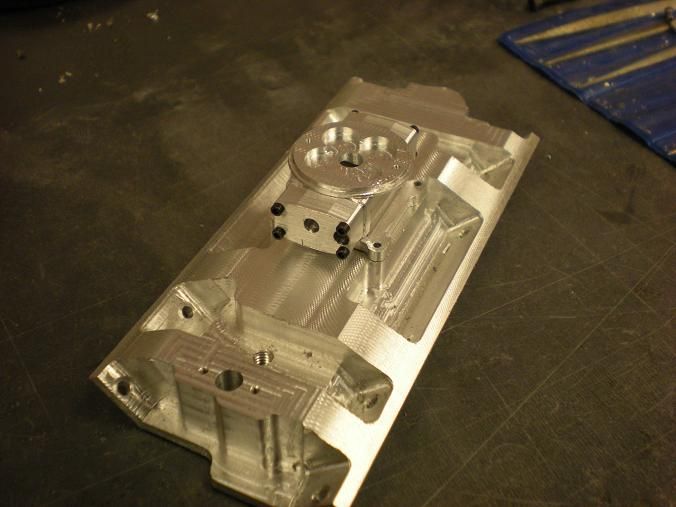
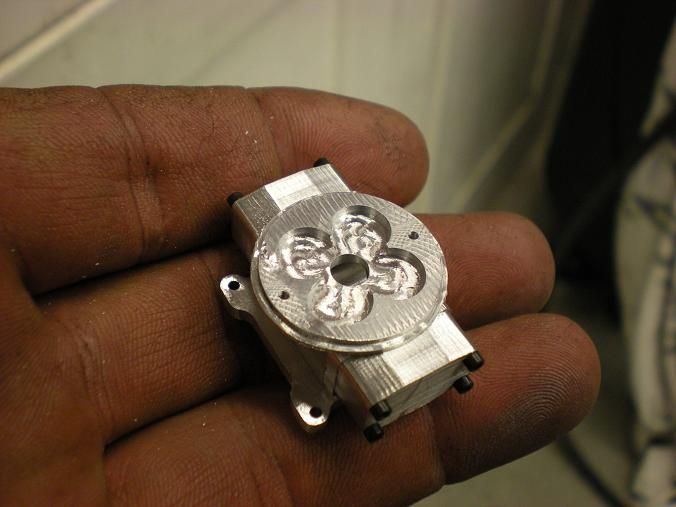
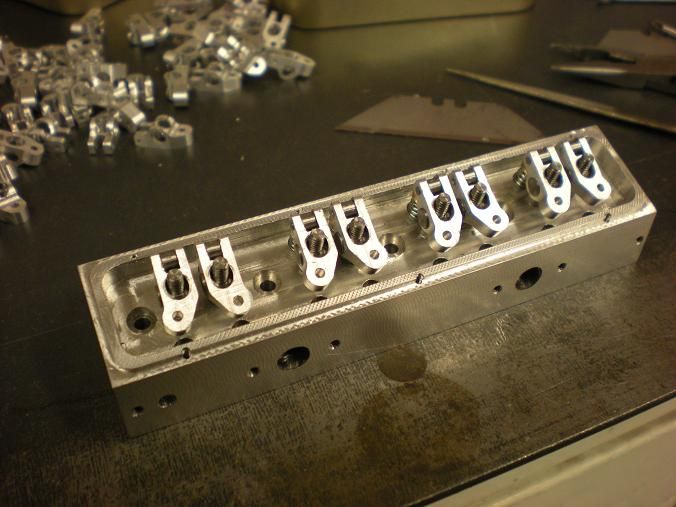
Sorry about the crappy picture.


288
Forgive me, but I worry slightly about the strength of the rockers. There's a fairly solid bit of metal above the pivot, but it does nothing. The load is all on the thin strip of aluminium under the rocker, and having some experience of aluminium I worry that this thin strip may stretch a little and possibly even break after a period of engine operation.

I am not worried at all. The springs are light and I will lube often. The spring pressure is some 5 Lbs or so. I also have the ability to make all I want.

289
Hello All!

Made some progress in the way of the rocker pivots. They were a little trickier than i thought they would be. These things are only .156 round and .250 long. Made all the barrels first. Just used .156 drill rod and parted off the pieces and used a file to break the corners.


I was able to set the barrel down on a parallel. I had one that is just smaller than the height of the vise jaw.


I started using a center drill to spot the hole but the drill kept wandering anyway. I did'nt know this but found that if i used the center drill to drill as deep as it took to make a starter hole that was just smaller than the drill, It would follow the spotted area and worked much better.


Then Just a drill bit to get the hole in it.


I don't have the nuts done yet but I could not resist putting 8 rockers together just to see what it looks like. Of course the valves would need to be put in also. Everything looks ok so far. I have also used some JB weld to patch up the water jacket fiasco and hope to complete the heads by the end of next week?


290
Hello All!

Decided to do something easy tonight. I made the rollers for the rockers and the pins to pin the rollers. The rollers were a case of drilling the center and then parting them off a piece of 1/8 inch droll rod. The pins were just parted off a piece of 1/16 drill rod.


Pages: « 1 2 3 4 5 6 7 8 9 10 11 12 13 14 15 16 17 18 19 20 21 22 23 24 25 26 27 28 29 30 31 32 33 34 35 36 37 38 39 40 41 42 43 »