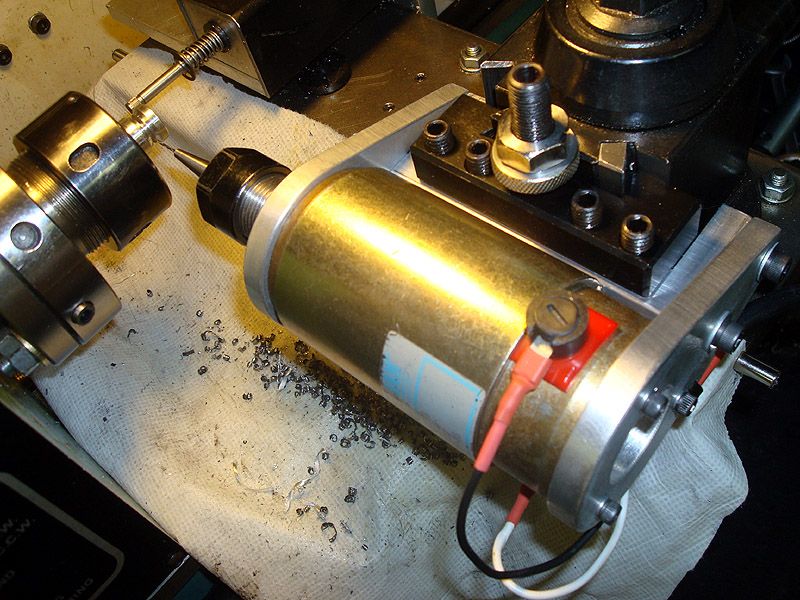
I built this thing up recently with stuff I had lying around to save some time when making model airplane engine venturis for a friend. The venturis have 4, #58 holes in them and I’d been drilling them in the mill using a square ER32 collet block. It worked fine but my mill’s top speed is a bit slow for the little drill and it required tedious setup for each one.
With the part still chucked in the lathe and the hang-on QC drill’s offsets stored in Mach, it’s now easy-peasy with a little bit of g-code to drill the holes right on the money. I just mark the 4 positions on the chuck flange with a magic marker and use a simple wire pointer to index the holes. Their positioning isn’t super critical and there’s not enough torque generated from the little drill bit to move the lathe spindle around while drilling.
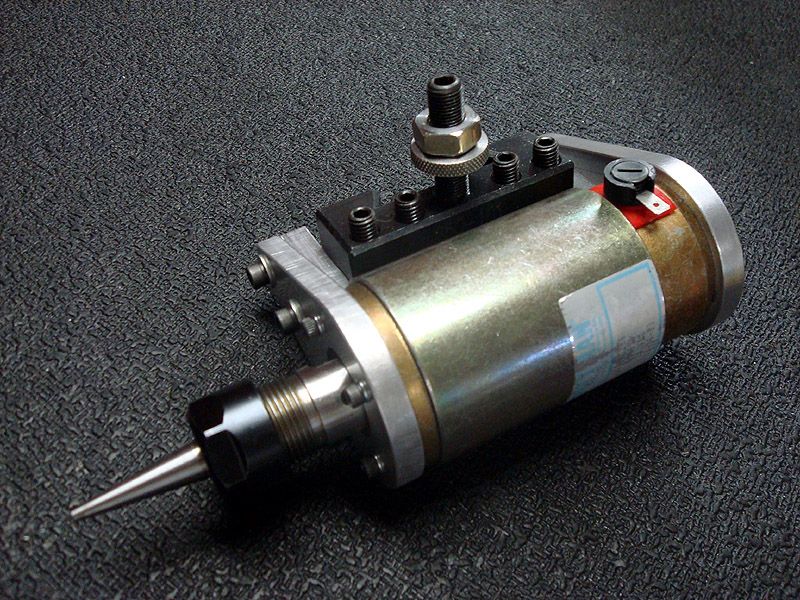
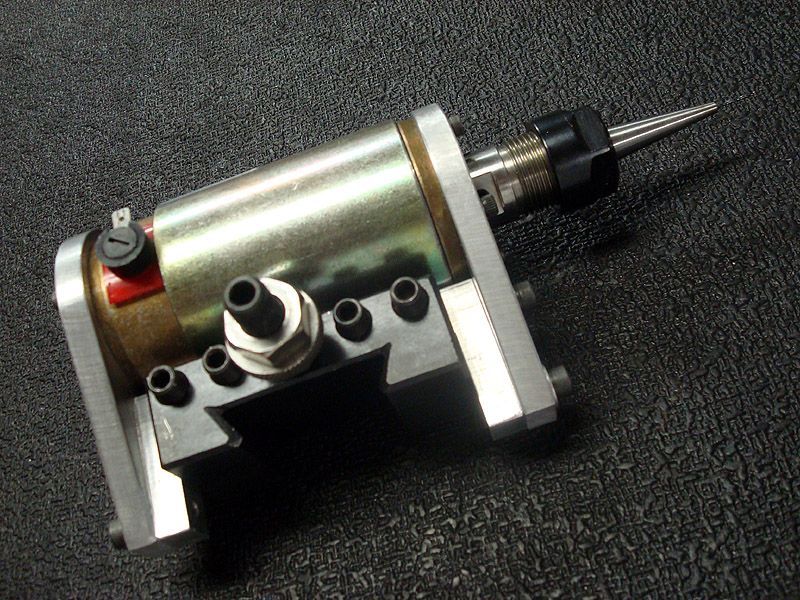
The motor is a 24VDC 3450 rpm Pittman given to me by forum member Jim Glass, thanks Jim! I run it with a cheap ebay KB controller that I ordered by mistake. It came with a Peco add-on board that runs off 36VAC so I used an old 36V transformer to power it. With a few tweaks I got the motor running at a bit under 5000 rpm. Still slow but it’s twice as fast as the mill & zips through aluminum like butter. I tested it with bits up to 3/16” dia and they do great.
I made an ER16 chuck for it and was going to just press it on the motor shaft but my .3115” reamer somehow made an oversize hole. Excessive chip buildup I think. Anyway I drilled & tapped it for 4 setscrews and with a lot of cussing got the runout down to .0002”. I would’ve liked to have used ER11 but don’t have the collets. The drill bit holder shown was originally made to use in the mill but I’ll now make a shorter one to give more clearance. The z-axis homing probe comes too close to the part for comfort. If I bend that probe, after making a new one I’d then have to reset all 15 tools’ Z offsets, YUCK!