Hello Guest it is May 03, 2024, 03:27:44 PM

Show Posts

This section allows you to view all posts made by this member. Note that you can only see posts made in areas you currently have access to.


Messages - Chris.Botha

61
General Mach Discussion / Zero an axis from G-Code...
« on: July 23, 2010, 11:32:06 PM »
Guys I am a little stuck here..

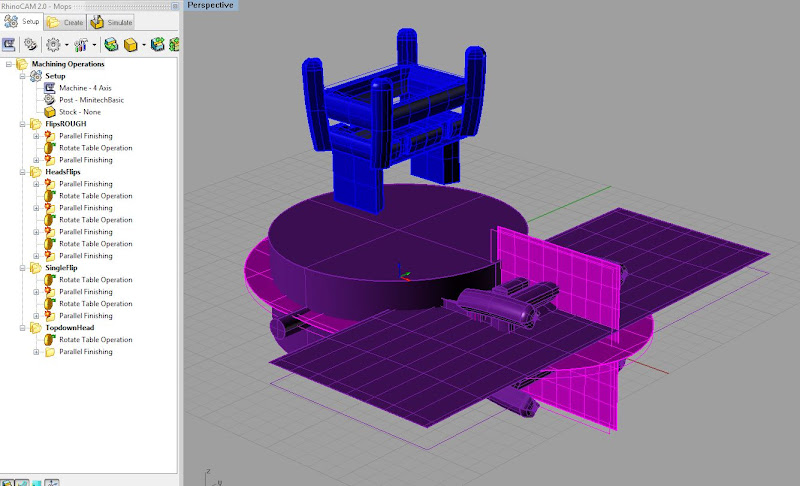
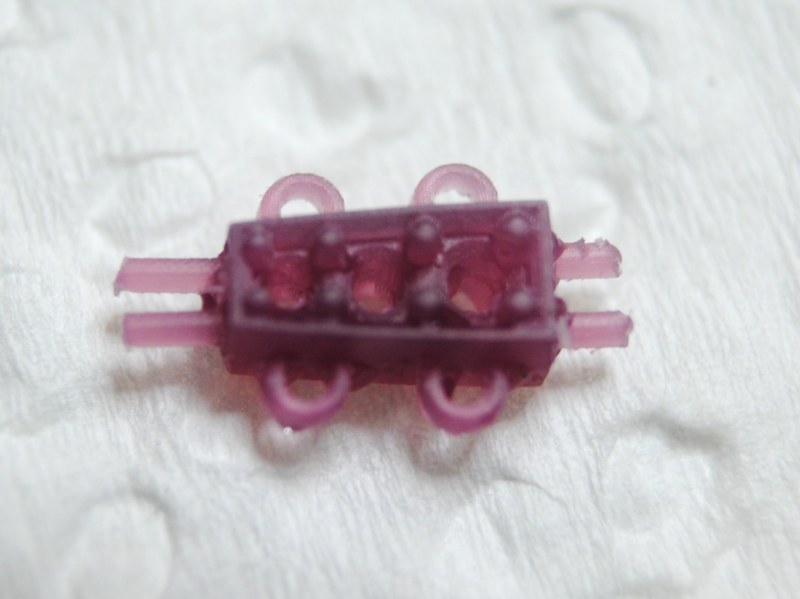
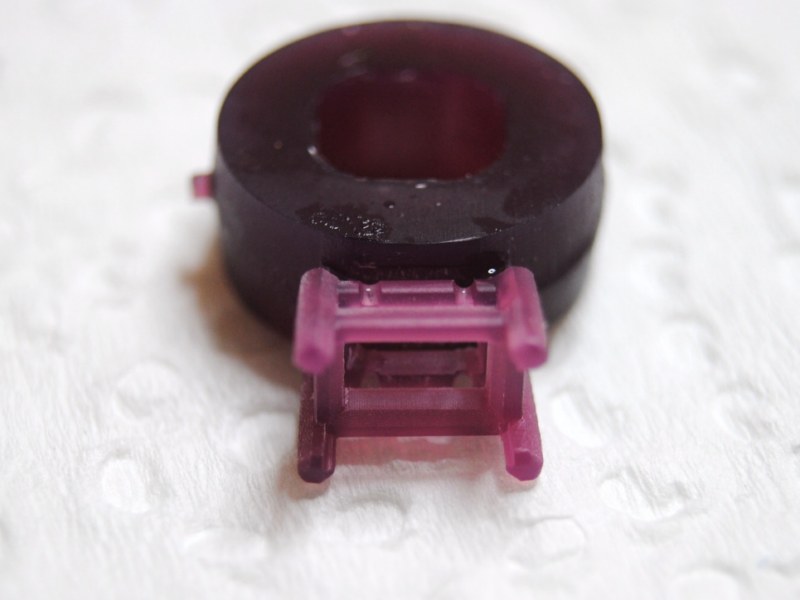
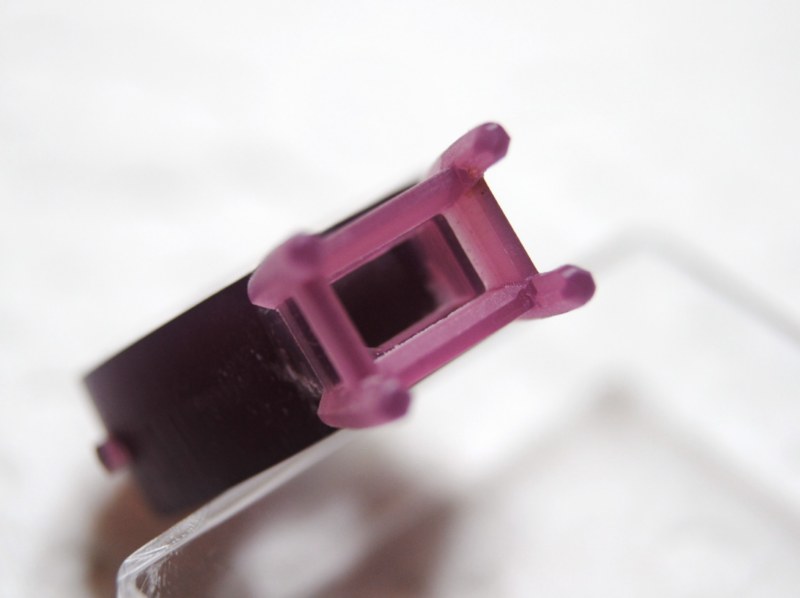
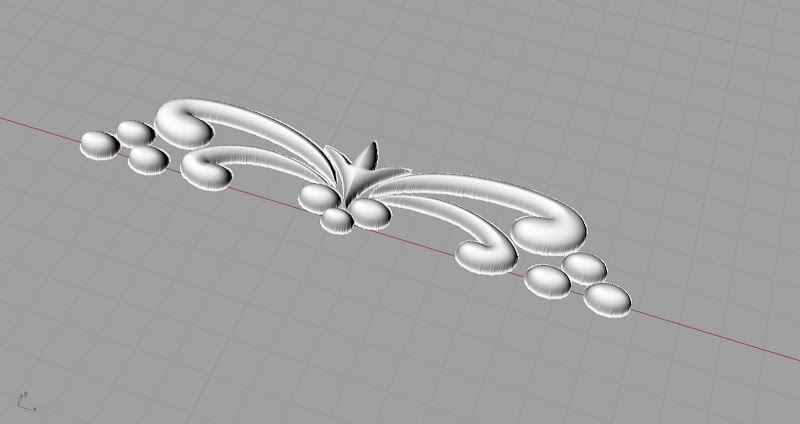
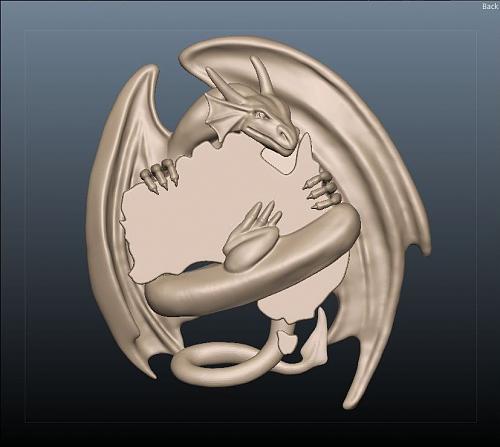
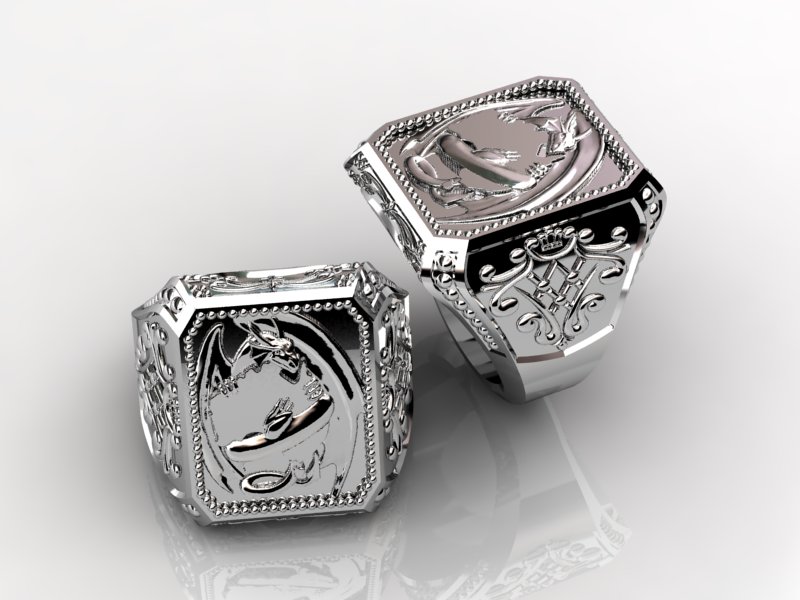
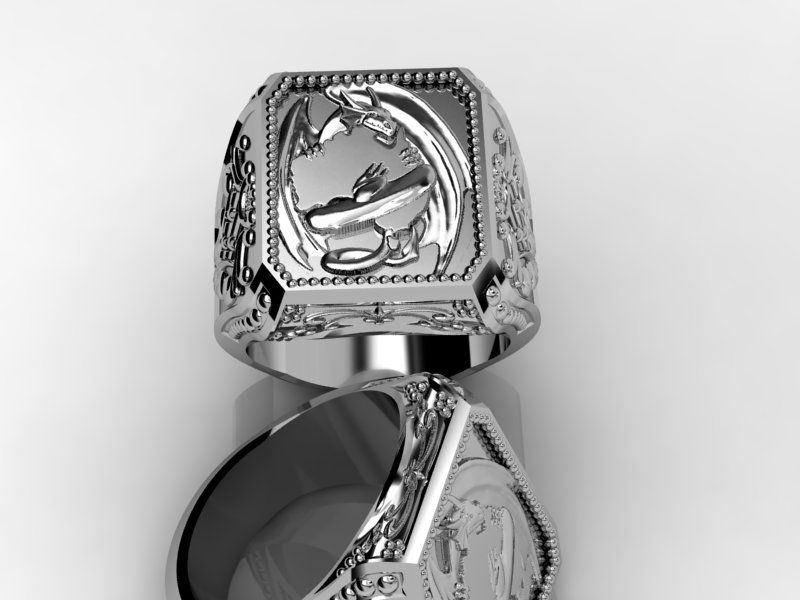
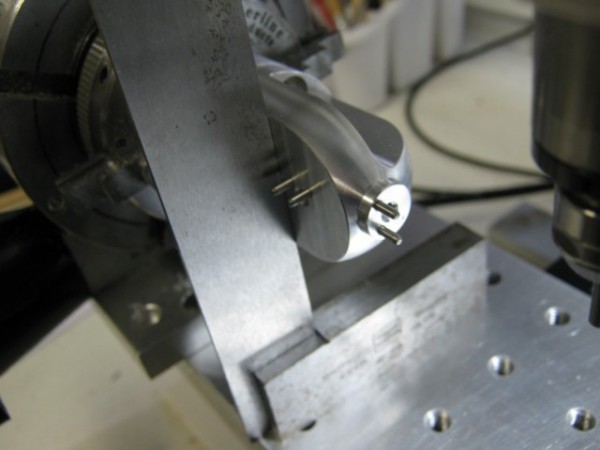
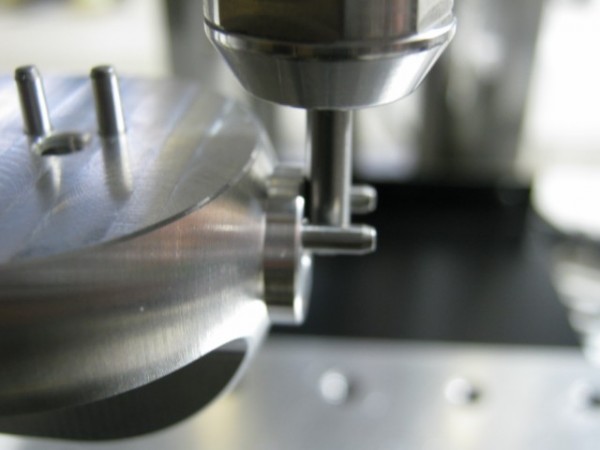
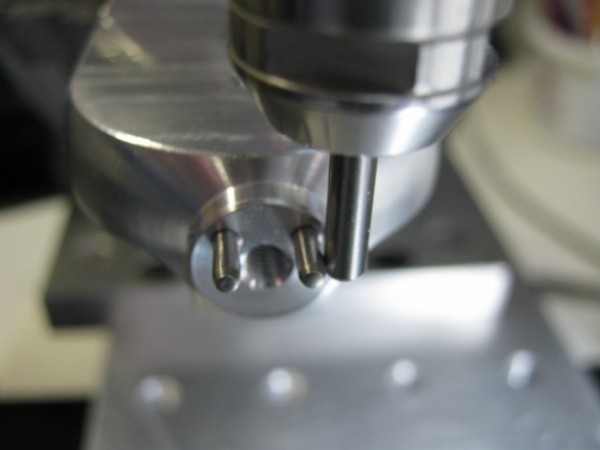
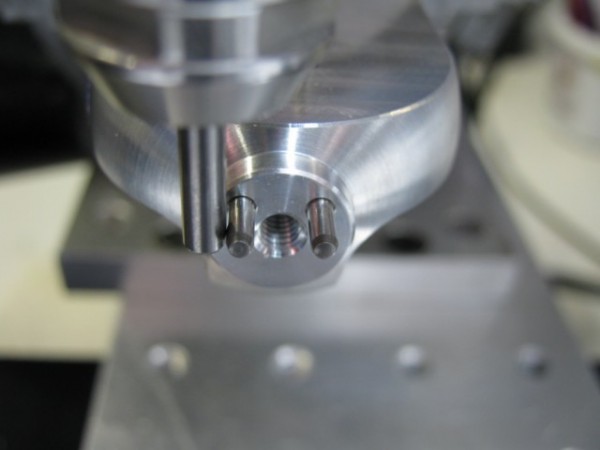
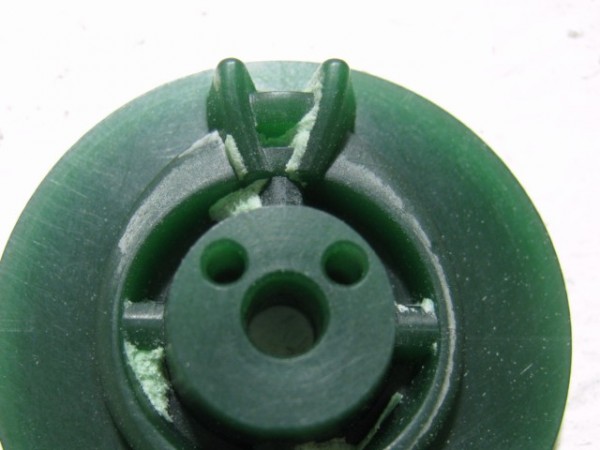
I am cutting a job with massive paths.. from two sides of a ring in my rotary unit, the ring being symmetrical.

SO this means when i go to 180 to cut the other side i have to

1: regenerate all paths to reflect he change in A from 0 to 180 (plus indexed offsets etc) (4 hours more pathing)
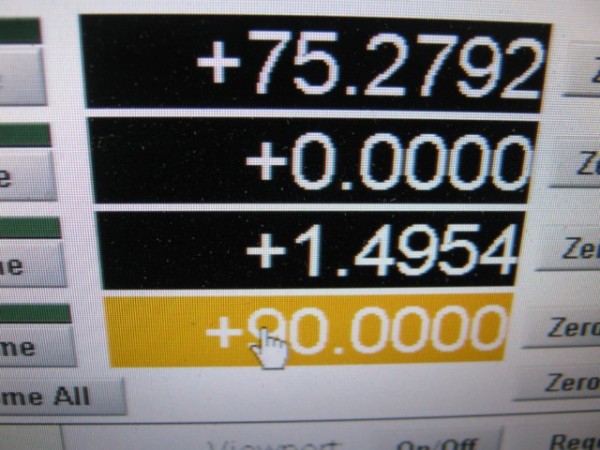
2: physically be there , manually roll A to 180, zero it out in mach then rerun the same paths

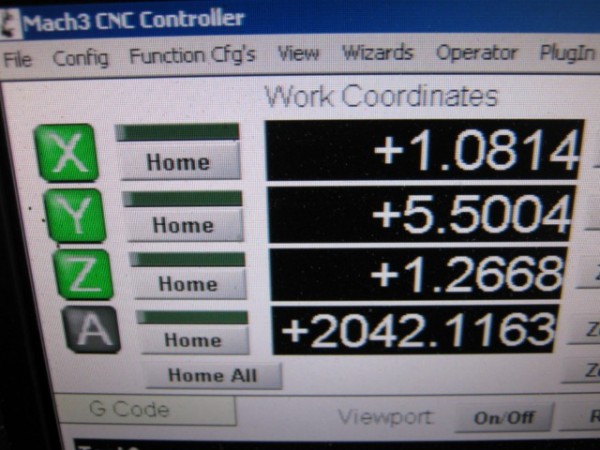
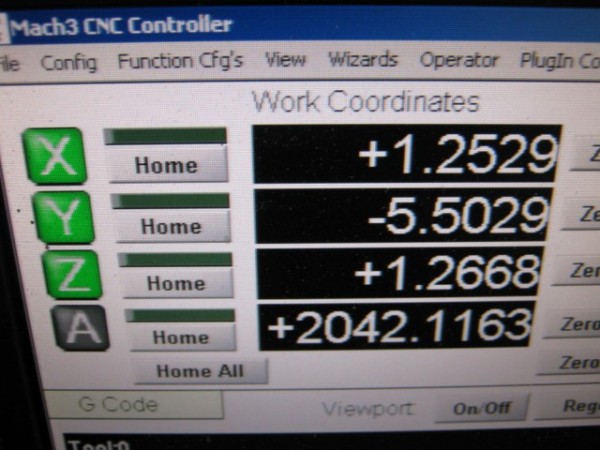
Now... it strikes me that i can automate this by rolling to 180 once my paths are done, then somehow from gcode or macro zero out the A axis so it is at 0 degrees in mach whilst its actually still at 180 on the mill, then just copy and paste my paths.

Clues???

Thanks :


62
http://www.youtube.com/watch?v=-rxwhEzLh7E

I tried to grab some wife milling action... but no go!

63
mwaaaaaaaaaaaaaaaaaaaaaaaaaaaahahahahahahahhahahahahaha

good plan!

64
Its no secret that my wife does all my milling... And a good job to... and now day she does virtually all my pathing as well.. but.. the layer colors!! for petes sakes!  :roll:

Gotta love a gal that can write a complex multipass multiangle path!

These are masters for a articulated necklet. wil try grab images when its done.


65
Had a chance to poke around with RhinoArt again :)

The Dragon itself was modelled by Colin Creed in Sculptris and 3DCoat. the Ring was Matrix3d and the floral inlays where RhinoArt.

Milling pics to come.


66
;)

http://cgi.ebay.com.au/NIB-HIGH-PRESSURE-TEXTILE-CLEANING-WATER-GUN-110V-/230483803918?cmd=ViewItem&pt=LH_DefaultDomain_0&hash=item35a9e7bf0e

exactly same as product I sent but rebranded NIB 78 bucks :)

PS.. these are used for removing "protein stains" by washing houses..

protein stains?? mwaaaaaaaaaaaaaahahahahahahahahahaahh

67
blaster!!!!!!!!! woooooooohoooooooo thats the best thing about this job i get to use a high pressure water blaster to clean the compaction off tiny fine wax cuts!!

see here

http://www.redarrow.com.tw/products-yh170.htm

available in the US rebranded as Mystic at about 4 times the price.

BEWARE, turn it down to its lowest setting, it will split your skin open instantly on its standard setting. (i know this from experience)


68
You can make or buy them. The company that provides the fixture and blanks also supplies cad and nc files for making your own blanks as required. The holes are critical to accuracy. I think that at around $3.50 per disk which will results in a $500 to $10 000  piece of jewellery simply buying them is cost effective? but I do understand that some folks, like myself are closely related to Mr Scrooge ;)


69
I have long been enamoured by the fixture from Lex at DeskProto and after some discussion he happily provided me with a unit for testing. I have copied this post from our old forum where more in depth information is available.

I locked the fixture into my Sherline rotary and the time arrived to dial this sucker in!

The fixture relies on a perfect A and Z and X setup, Y and Z should both already be setup before you even set this fixture up since you will be locking into your rotary unit and would have this dialled in.

Lets get to it!

1: Finding perfect A... easy! roll the whole unit in A against a table square on your mill table, set your jog to 10% and slowly roll until no light is visible between the square blade and the fixtures top surface.


2: Click in the A DRO in Mach and type in 90 (or 270 depending on which side you setup the fixture table) then run the command G0A0. Simple - A is now perfectly flat to the spindle and A is now set :)


3: Time to setup X.. this too is pretty easily done, but make sure you are 100% carefull in this step, the 123waxringWizard software relies on X heavily, even a minor misalignment here will be amplified in your final model.. measure twice, cut once. To setup X drive the back of a 3.17 (1/8th) cutter up to the very edge of the fixture like below, CAREFULLY, set your jog speed right down when you get closer. when you are touching the fixture zero out X and drive directly upwards in Z away from the fixture, now time to correct our tooltip width, run the command G0X-1.585 then rezero X. Thats it for X.


4: these images are merely the way that I verified my Y before cutting, I am including them because all thing swith movable parts are subject to tolerances so screwing the fixture into its Sherline adapter may introduce errors, and even tho they are minor in most case its good to know how to look for them. Basically i drove my cutter to the very edge of each pin in Y and check the Mach DRO for position in Y on either pin, these should be virtually the same number only different in positive/negative assignment. Y verified!


5: Time to cut.. The software would have told you what thickness disk to use, lock it in the fixture with the chosen cutter in place and probed.
The first path will complete with half the disk cut away to reveal one side of the ring.


Turn the disk over and lock it back in. Cut the second path, you should be left with a well aligned flip cut wax, ready for the final rotary pass.


Lock it onto the rotary pins and lets finish this up!


And we are done!

Thank you for taking some time to read through this pictorial :)


Regards
Chris Botha

70
thanks :)